 Save to Pinterest
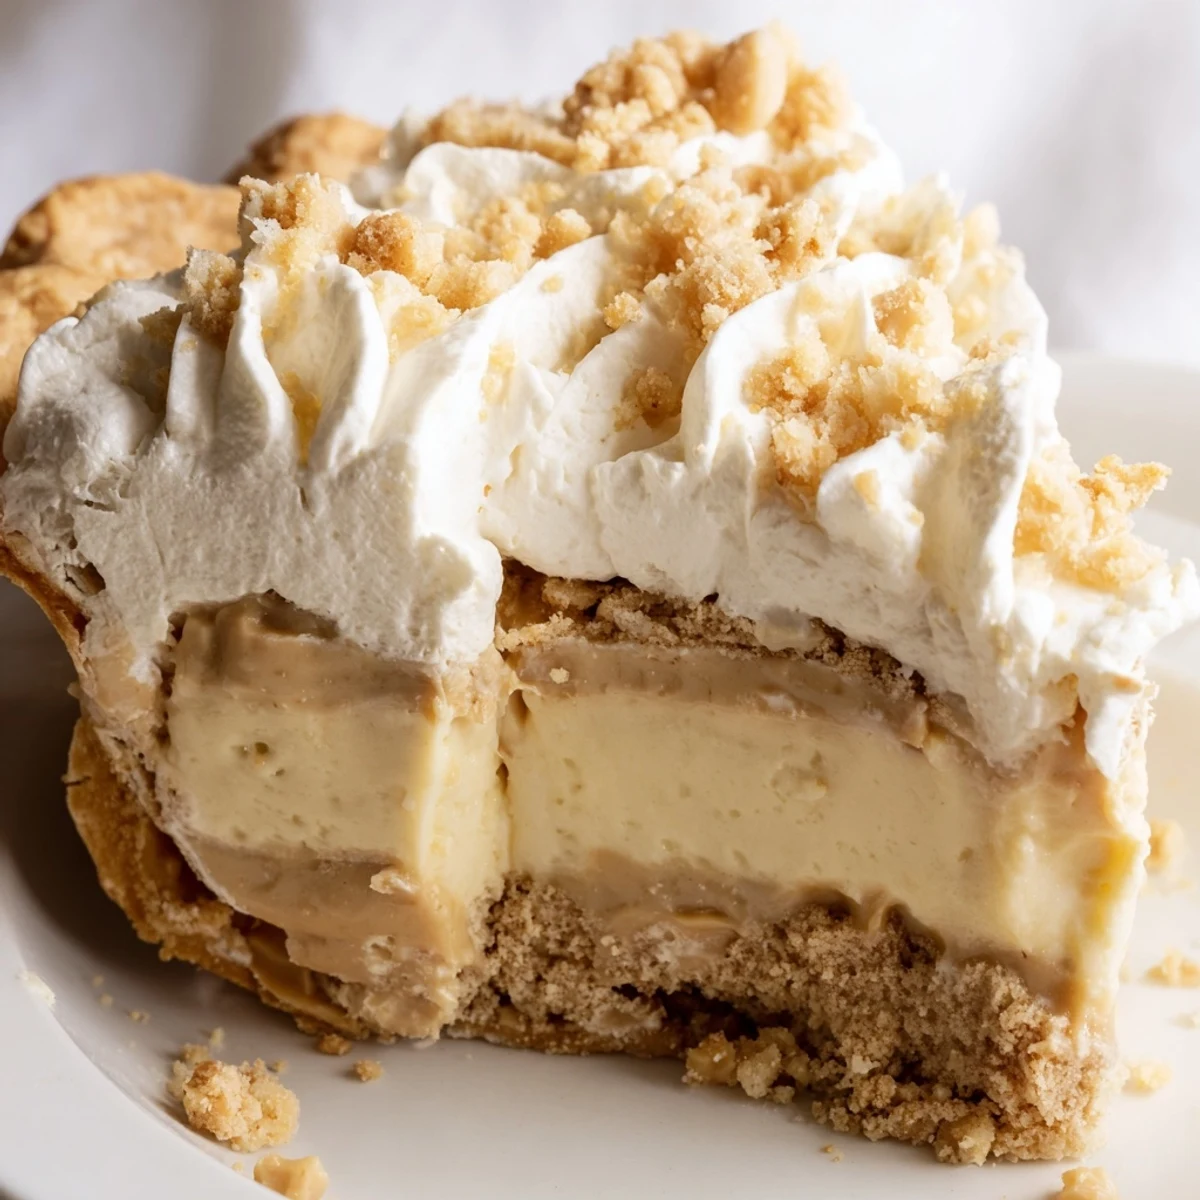
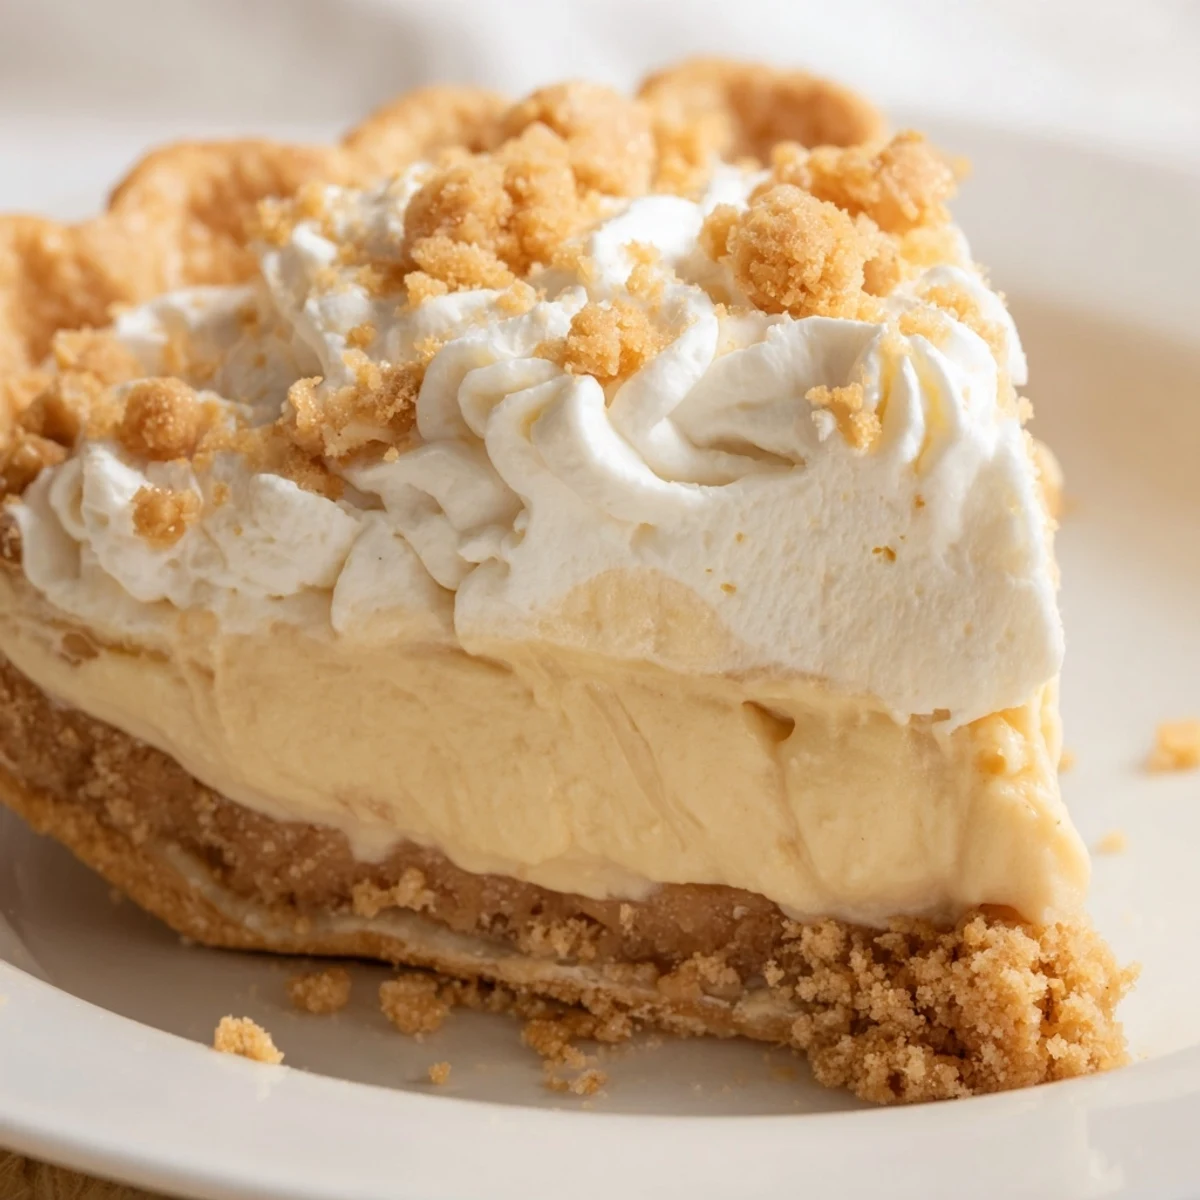
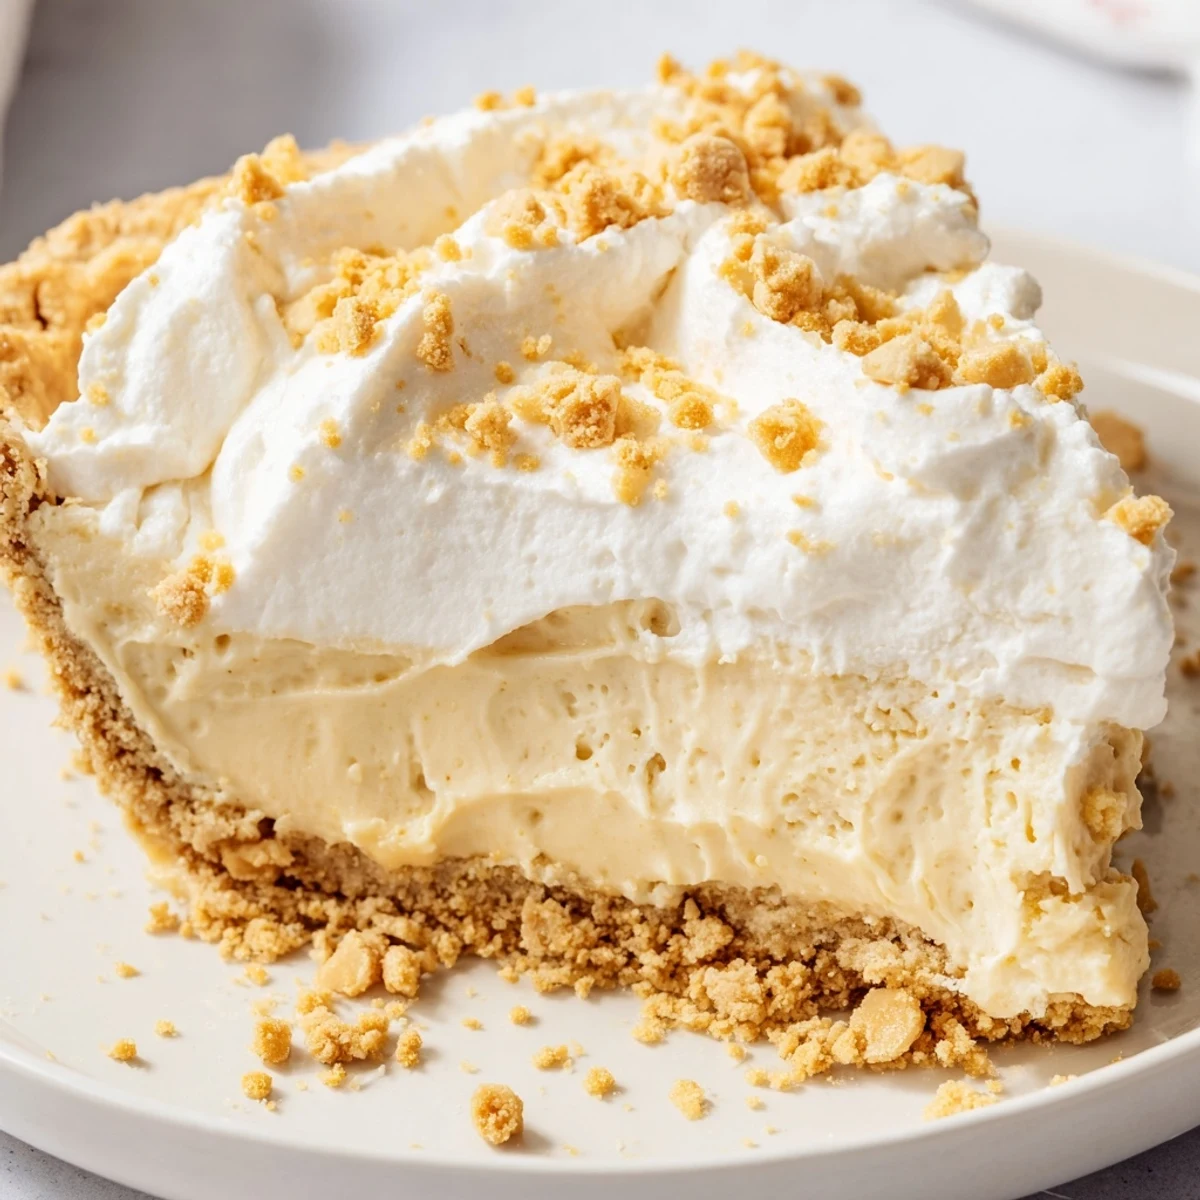
 This old-fashioned Amish dessert features a dreamy combination of creamy peanut butter custard filling nestled in a crisp pie shell. The velvety texture comes from a cooked mixture of milk, egg yolks, sugar, and vanilla, creating a smooth consistency that melts in your mouth. What makes this special is the layer of sweet peanut butter crumbs spread throughout and sprinkled on top, adding delightful texture and intensified peanut flavor.
The preparation involves mixing peanut butter with powdered sugar to create crumbles, then preparing a traditional custard-style filling on the stovetop. After chilling until set, the pie is crowned with freshly whipped cream and the remaining crumbs. This easy vegetarian dessert serves eight and requires just 25 minutes of active preparation before chilling time.
The first time I encountered this pie at an Amish bake sale, I actually thought there had been some mistake. The table was lined with careful, neat pies, but this one sat slightly tilted with a dusting of crumbs that looked like someone had gotten generous with the final flourish. I bought a slice mostly out of curiosity, and somewhere between that first creamy bite and the crunch of peanut butter crumble, I understood why perfection isn't the point of comfort food.
I made this for my father's birthday one year when I'd completely forgotten to plan anything special. He'd been talking about this pie he'd had as a kid somewhere in Pennsylvania Dutch country, and I figured I could at least attempt something close. The whole house smelled like warm sugar and vanilla while the filling thickened on the stove, and when he took that first bite, he actually went quiet for a full minute.
Ingredients
- 1 9-inch prepared pie crust: Having this baked and cooled ahead of time saves you from the biggest timing trap in the whole recipe
- 3/4 cup creamy peanut butter: The natural stuff separates too much here, so stick with the classic creamy that you probably grew up with
- 1 cup powdered sugar: This combines with the peanut butter to make those magical crumbles that give the pie its signature texture
- 2/3 cup granulated sugar: Balances the peanut butter without making the filling cloyingly sweet
- 1/3 cup all-purpose flour: The thickening agent that transforms milk and eggs into proper custard instead of sweetened scrambled eggs
- 1/4 teaspoon salt: Wakes up all the flavors and keeps the peanut butter from tasting flat
- 2 cups whole milk: Skim milk just doesn't give the filling the right body or richness
- 3 large egg yolks: Save the whites for another use, but don't try to substitute whole eggs here
- 1 teaspoon pure vanilla extract: This bridges the gap between the peanut butter and the creamy custard base
- 2 tablespoons unsalted butter: Adds that final gloss and richness to the filling that makes it feel restaurant quality
- 1 cup heavy whipping cream: Cold from the fridge is the only way this will whip up properly
- 2 tablespoons powdered sugar: Just enough sweetness to make the topping feel special without competing with the pie
- 1/2 teaspoon vanilla extract: A little extra vanilla in the whipped cream makes everything feel intentional
Instructions
- Make the crumble magic:
- Mix the peanut butter and powdered sugar with a fork until it looks like sandy crumbs that hold together when you pinch them
- Layer the bottom:
- Spread half of those crumbs into your pie shell, pressing them down gently so they don't float up when you add the filling later
- Start the custard base:
- Whisk together the granulated sugar, flour, and salt in your saucepan until no flour lumps remain
- Add the milk slowly:
- Pour in the milk gradually while whisking, because if you dump it all in at once you'll spend the next five minutes trying to smooth out flour pockets
- Cook until thickened:
- Set the pan over medium heat and whisk without stopping until the mixture bubbles and thickens enough to coat the back of a spoon
- Temper the egg yolks:
- Whisk your yolks in a separate bowl, then gradually whisk in about half a cup of the hot milk mixture to bring the eggs up to temperature gently
- Combine everything:
- Pour the warmed egg mixture back into the saucepan while whisking constantly, and cook for two more minutes until it's glossy and thick
- Finish the filling:
- Remove from heat and stir in the butter and vanilla until the butter melts completely and everything looks smooth
- Assemble and chill:
- Pour the filling over those crumbs in your crust, let it cool for about 15 minutes on the counter, then refrigerate for at least two hours until completely set
- Whip the topping:
- Beat the heavy cream with the powdered sugar and vanilla until stiff peaks form
- Finish the pie:
- Spread the whipped cream over your chilled pie and sprinkle the remaining peanut butter crumbs over the top right before serving
 Save to Pinterest
 This has become my go-to when someone needs comfort food but I want it to feel special. There's something about the combination of creamy custard and peanut butter that just hits differently than a regular cream pie.
Getting The Crust Right
Homemade graham cracker crusts are worth the extra ten minutes, especially when you press the crumbs up the sides of the pan a bit higher than you think you need to. The first time I made this, I didn't bake the crust quite long enough, and the bottom was slightly soggy in a way that no one else seemed to notice but that I couldn't stop thinking about.
Whipping Cream Success
Cold cream and a cold bowl make all the difference between whipped cream that holds its shape and something that starts weeping within an hour. I learned this the hard way at a summer potluck when my beautiful pie top slowly slid into a puddle while we all ate dinner on the patio.
Serving And Storing
This pie actually tastes better the next day, when the flavors have had time to really get to know each other in the fridge. The crust might soften slightly after day two, but the filling stays perfectly creamy and the topping holds up surprisingly well if you don't mind it being a little less picture perfect.
- Run your knife under hot water before slicing for the cleanest cuts
- Leftovers keep well covered in the fridge for up to three days
- The pie shell is easier to work with at room temperature than cold from the fridge
 Save to Pinterest
 There's something about a pie that doesn't require fancy techniques or hard-to-find ingredients but still makes people close their eyes when they take that first bite.
Recipe Questions & Answers
- → How long does the pie need to chill before serving?
-
The pie requires at least 2 hours of refrigeration time to completely set. This chilling period allows the custard filling to firm up properly, making clean slices easier. For best results, plan to make it the same day you plan to serve it, or refrigerate overnight for even better texture.
- → Can I use natural peanut butter instead of creamy?
-
Creamy peanut butter works best for this dessert because it provides the smooth consistency needed for both the filling and crumb topping. Natural peanut butters with oil separation may alter the texture. However, if you prefer natural varieties, stir thoroughly before measuring and expect slightly different results in crumb formation.
- → What type of crust works best?
-
A standard 9-inch baked and cooled pie crust works perfectly. While the recipe calls for a traditional pie crust, you can use a graham cracker or shortbread crust for extra flavor. Homemade crusts add wonderful depth, but high-quality store-bought versions also yield excellent results.
- → How should I store leftovers?
-
Store any leftover pie in the refrigerator, covered with plastic wrap or placed in an airtight container. The creamy filling and whipped cream topping require cold storage to maintain freshness and texture. Properly stored, it will keep for 3-4 days, though the crust may soften slightly over time.
- → Can I make this ahead for a party?
-
Absolutely! This dessert actually benefits from being made a day ahead, as flavors meld and the texture becomes even more velvety. Prepare the entire pie, cover carefully, and refrigerate. Add the final sprinkle of peanut butter crumbs just before serving for the freshest appearance and crunchiest texture.
- → What can I substitute for whole milk?
-
Whole milk provides the richest, creamiest results. You can substitute with 2% milk, though the filling may be slightly less velvety. Avoid using skim milk as it won't provide enough fat content for proper texture. For a dairy-free version, coconut or almond milk may work but will alter the traditional flavor profile.