 Save to Pinterest
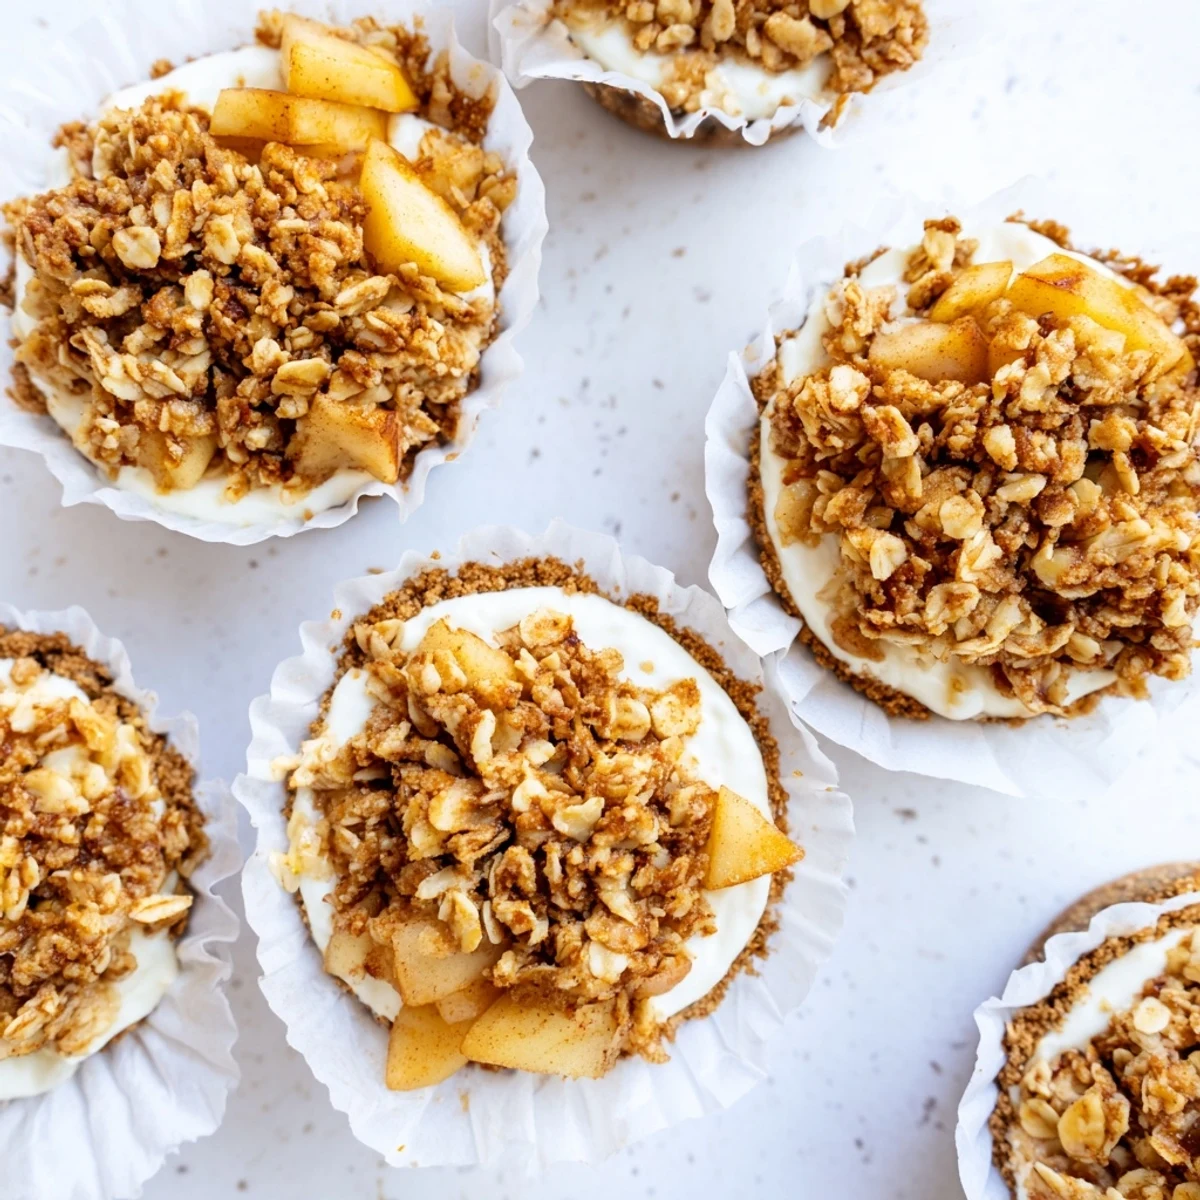
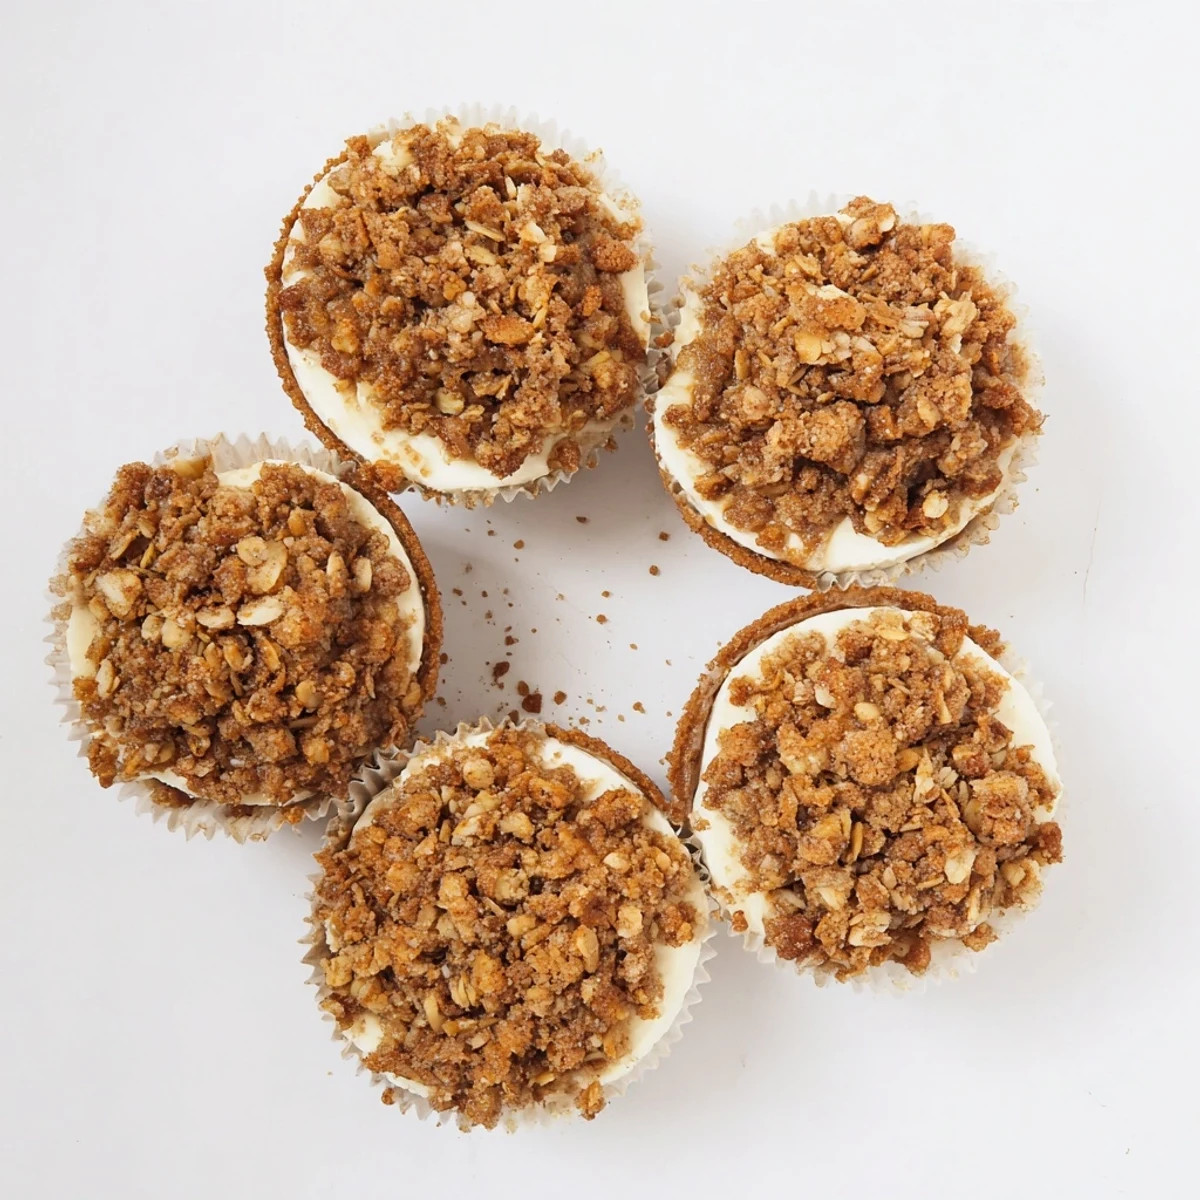
 These individual desserts bring together the best of two beloved treats: velvety smooth cheesecake and the cozy warmth of apple crisp. Each portion starts with a buttery graham cracker crust, topped with a rich cream cheese filling that bakes to perfection. The crowning glory is a generous spoonful of tender, spiced apples mixed with a golden oat crumble. Best served chilled after at least two hours in the refrigerator, these treats offer the perfect balance of textures—creamy, crunchy, and tender in every bite.
My apartment smelled like autumn the first time I made these little cheesecakes. I had four apples from my grandmother's tree sitting on the counter, and I couldn't bear to let them go to waste. Something about individual desserts makes people feel special, like you made something just for them.
I brought these to a dinner party last November, and my friend Sarah actually asked if I'd been hiding professional baking skills. She couldn't believe something so pretty came from a muffin tin. Now they're the first thing anyone requests when I mention dessert.
Ingredients
- Graham cracker crumbs: Use real crackers crushed fine, not the pre-made crumbs which can taste stale
- Cream cheese: Let it come to room temperature completely or you'll have lumps in your filling
- Sour cream: This tiny amount makes the cheesecake tangier and smoother
- Apples: Granny Smith or Honeycrisp hold their shape better than softer varieties
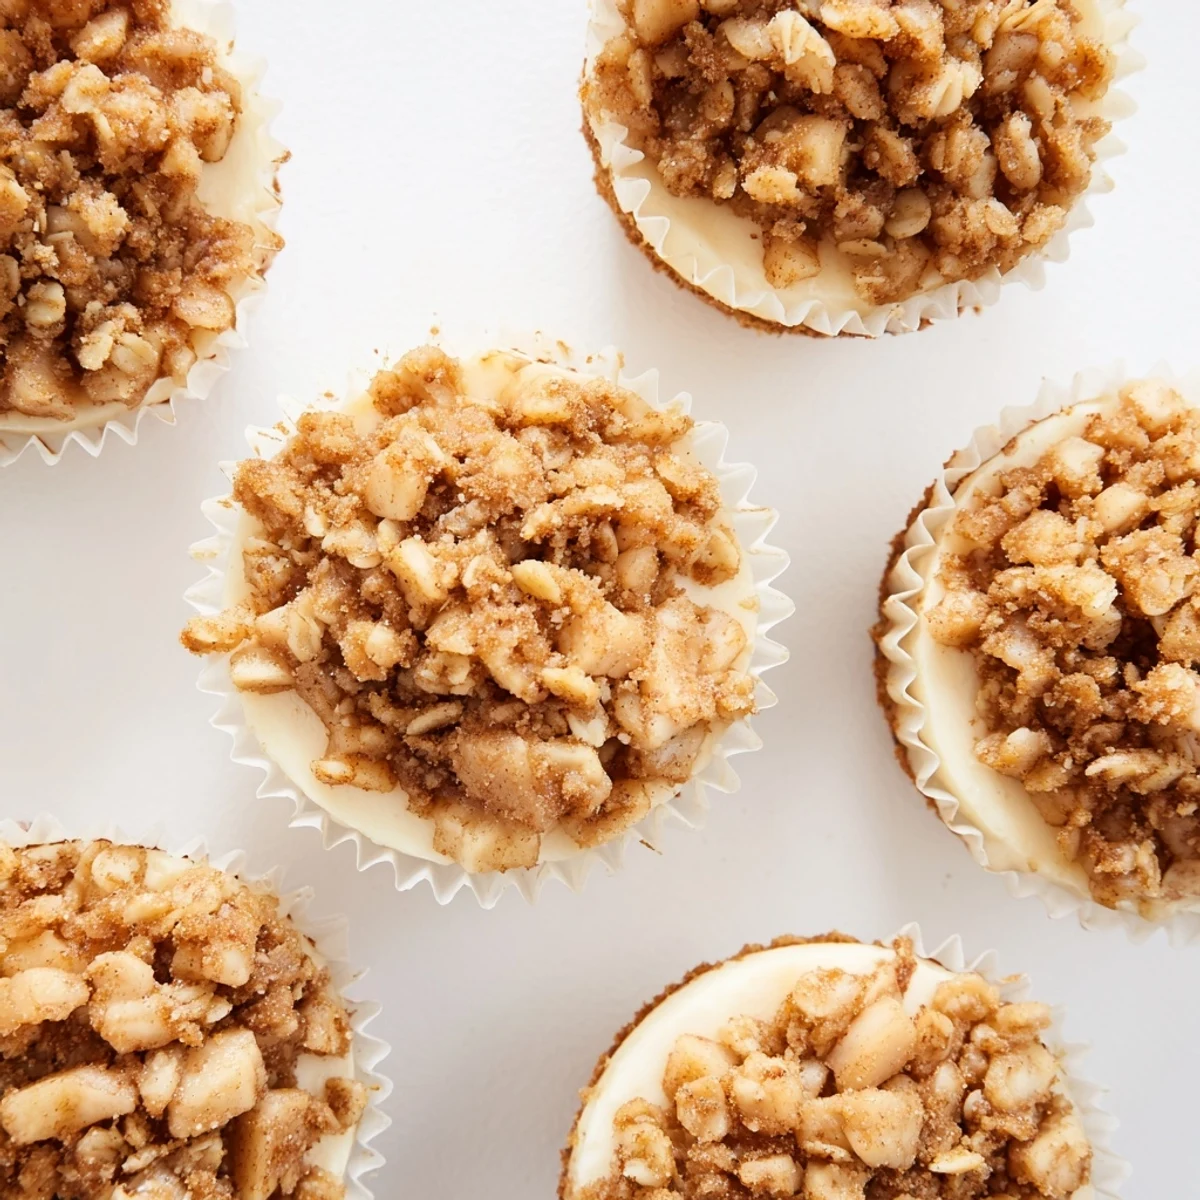
- Rolled oats: Old-fashioned oats give better texture than quick oats in the topping
Instructions
- Prep your muffin tin:
- Line every cup with paper liners so you can remove these easily later. Preheat your oven to 325°F now so it's ready when you are.
- Press the crusts:
- Mix the graham crumbs with sugar and melted butter until it feels like wet sand. Divide between the liners and press down firmly with the back of a spoon. Bake just 5 minutes to set them.
- Make the filling:
- Beat the softened cream cheese until it's completely smooth, about 2 minutes. Add sugar and beat again. Add eggs one at a time, then the vanilla and sour cream, mixing just until combined.
- Fill and bake:
- Spoon the filling over the cooled crusts, filling each cup about three quarters full. Bake 18 to 20 minutes until the centers are just set like gelatin when you gently shake the pan.
- Cool completely:
- Let them cool in the pan for 30 minutes, then refrigerate at least 2 hours. This patience step prevents cracks and develops the proper texture.
- Cook the apples:
- Melt butter in a skillet over medium heat. Toss in diced apples with both sugars, cinnamon, nutmeg, lemon juice, and salt. Cook 4 to 6 minutes until tender but still holding their shape.
- Add the crisp element:
- Stir in oats and flour, cook 2 more minutes until everything's golden and crumbly. Let it cool completely before topping your cheesecakes.
- Assemble and serve:
- Pile the apple crisp mixture generously on each chilled cheesecake. They're perfect chilled or can sit out 20 minutes before serving if you prefer them less cold.
 Save to Pinterest
 My daughter helped me make these last weekend, and she was so proud topping each one with the apple mixture. She ate hers standing at the counter and declared it better than any restaurant dessert.
Making These Ahead
You can bake the cheesecakes up to two days in advance and keep them refrigerated. Make the apple topping the day before too, but store it separately so it stays crisp. Assemble them an hour before serving for the best texture contrast.
Flavor Variations
Sometimes I swap pears for the apples, especially in winter when they're at their peak. A splash of bourbon in the apple filling adds warmth that adults love. You could also add a handful of chopped pecans to the crisp topping for extra crunch.
Serving Suggestions
A drizzle of warm caramel sauce over these makes them absolutely swoon worthy. I like to serve them with a tiny fork because they feel more special that way. They're rich enough that one per person is plenty, but don't be surprised if people ask for seconds.
- Let them sit at room temperature 15 minutes before serving for the creamiest texture
- A dusting of cinnamon on top right before serving looks beautiful
- These transport well if you're bringing them somewhere
 Save to Pinterest
 These little cheesecakes have become my go-to for bringing comfort to any gathering. Hope they become a favorite in your kitchen too.
Recipe Questions & Answers
- → How long should I chill these before serving?
-
Refrigerate for at least 2 hours after baking to allow the cheesecakes to set properly and develop their creamy texture. They can be made ahead and kept chilled for up to 3 days.
- → Can I make these gluten-free?
-
Yes, substitute regular graham crackers with gluten-free alternatives and use certified gluten-free oats. The rest of the ingredients are naturally gluten-free.
- → What apples work best for the topping?
-
Firm varieties like Granny Smith, Honeycrisp, or Braeburn hold their shape well during cooking while delivering excellent flavor. Soft apples may become too mushy.
- → Can I freeze these for later?
-
Freshly baked cheesecakes freeze well without the topping. Wrap individually and freeze for up to 1 month. Add the apple crisp after thawing for best texture.
- → How do I know when they're done baking?
-
The centers should be just set with a slight wobble—like firm Jell-O. They'll continue firming during chilling. Overbaking causes cracks.