Save to Pinterest
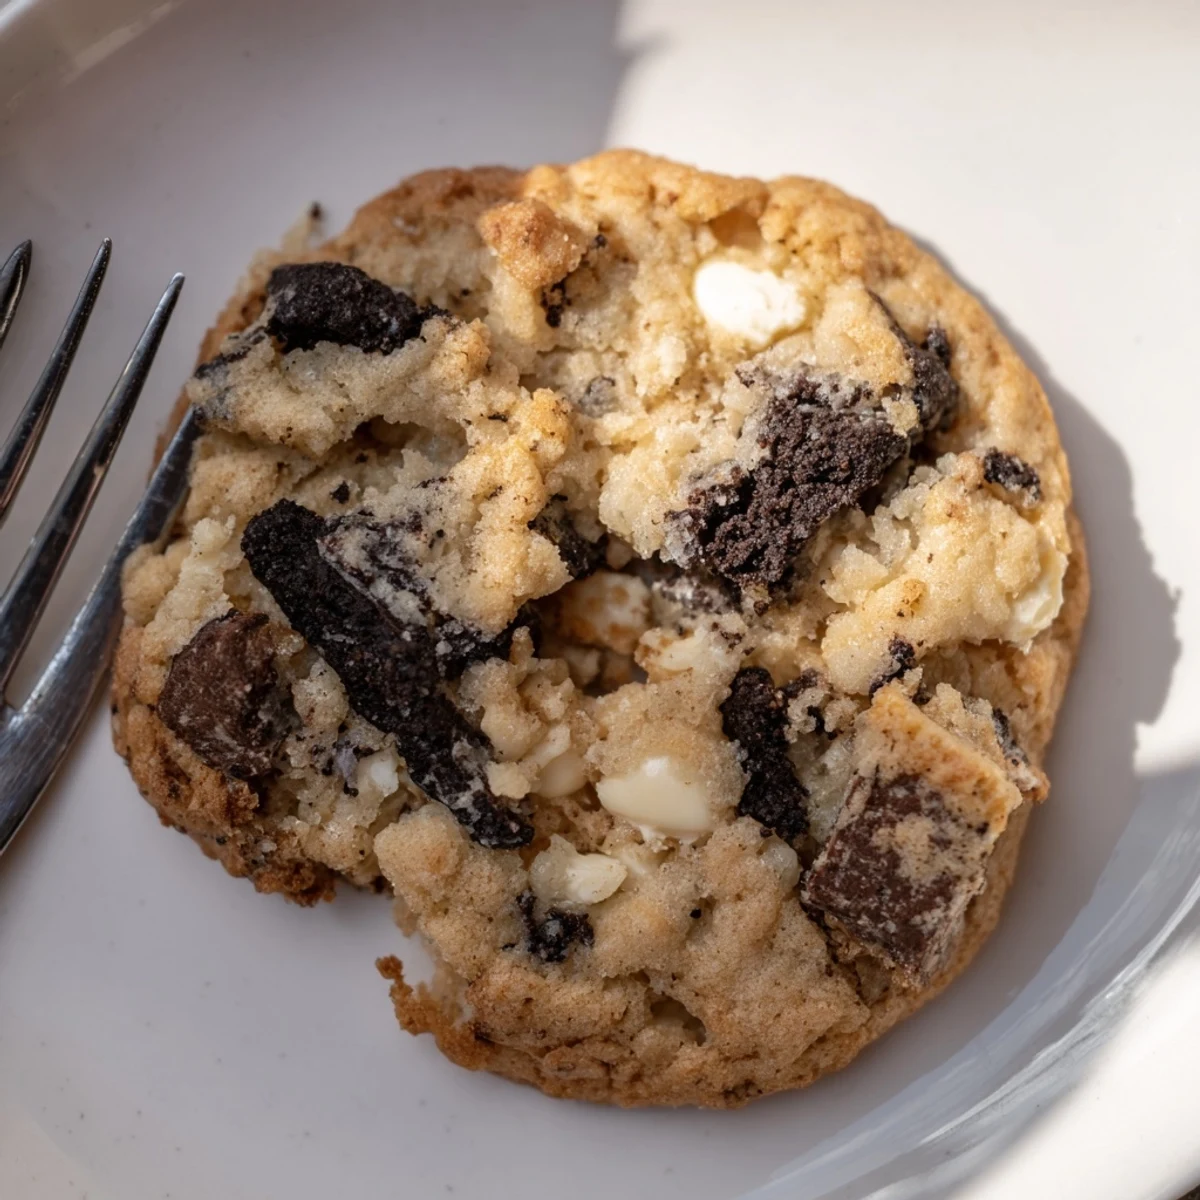
 These soft, chewy treats combine crushed chocolate sandwich cookies with creamy white chocolate chips for the ultimate cookies 'n cream experience. The dough comes together quickly with basic pantry staples, and the combination of buttery vanilla base with crunchy cookie pieces creates irresistible texture. Perfect for satisfying sweet cravings or sharing at gatherings.
The first time I made these cookies, my roommate walked into the kitchen and immediately started hovering around the baking sheet, watching them like a hawk. The smell of butter and vanilla mixing with that unmistakable Oreo aroma is honestly impossible to resist. We ended up eating three each right off the pan, burning our tongues because patience isn't really our thing.
Last summer I brought a batch to a potluck and they vanished before I could even set them on the dessert table. My friend Sarah actually hid two in her purse 'for later' which I think says everything about how addictive these are. Now they're my go to whenever I need to show up and impress without spending hours in the kitchen.
Ingredients
- 2 cups all purpose flour: The structure of your cookie depends on measuring this correctly, spoon it into your measuring cup and level it off
- 1/2 teaspoon baking soda: This is what gives your cookies that perfect spread and rise balance
- 1/2 teaspoon salt: Don't skip this, it's the secret to making all the sweet flavors pop
- 3/4 cup unsalted butter softened: Room temperature butter creates the perfect texture, if it's too cold your cookies won't spread properly
- 1/2 cup granulated sugar: Creates crisp edges and helps the cookies spread beautifully
- 1/2 cup packed brown sugar: Adds moisture and that chewy center we all love
- 1 large egg: Bind everything together and adds structure
- 2 teaspoons vanilla extract: Use real vanilla here, it makes such a difference in the final flavor
- 14 chocolate sandwich cookies: Roughly chop them so you get big cookie chunks and smaller cookie crumbles throughout
- 1 cup white chocolate chips: Creamy sweetness that balances the darker chocolate from the sandwich cookies
Instructions
- Preheat and prep your baking space:
- Set your oven to 350°F and line two baking sheets with parchment paper for easy cleanup
- Whisk the dry ingredients together:
- In a medium bowl combine flour, baking soda and salt so they're evenly distributed
- Cream the butter and sugars:
- Beat softened butter with both sugars until the mixture looks fluffy and pale, this takes about 3 minutes
- Add the wet ingredients:
- Mix in your egg and vanilla until everything is fully incorporated
- Combine everything:
- Gradually add the flour mixture and mix until just combined, don't overmix or your cookies will be tough
- Fold in the good stuff:
- Gently stir in the chopped sandwich cookies and white chocolate chips by hand
- Scoop and space:
- Drop tablespoon sized dough balls onto your prepared sheets, leaving about 2 inches between each one
- Bake until perfect:
- Bake for 10 to 12 minutes until edges are golden but centers still look slightly soft
- Cool and enjoy:
- Let them sit on the hot pan for 5 minutes then move to a wire rack to finish cooling
 Save to Pinterest
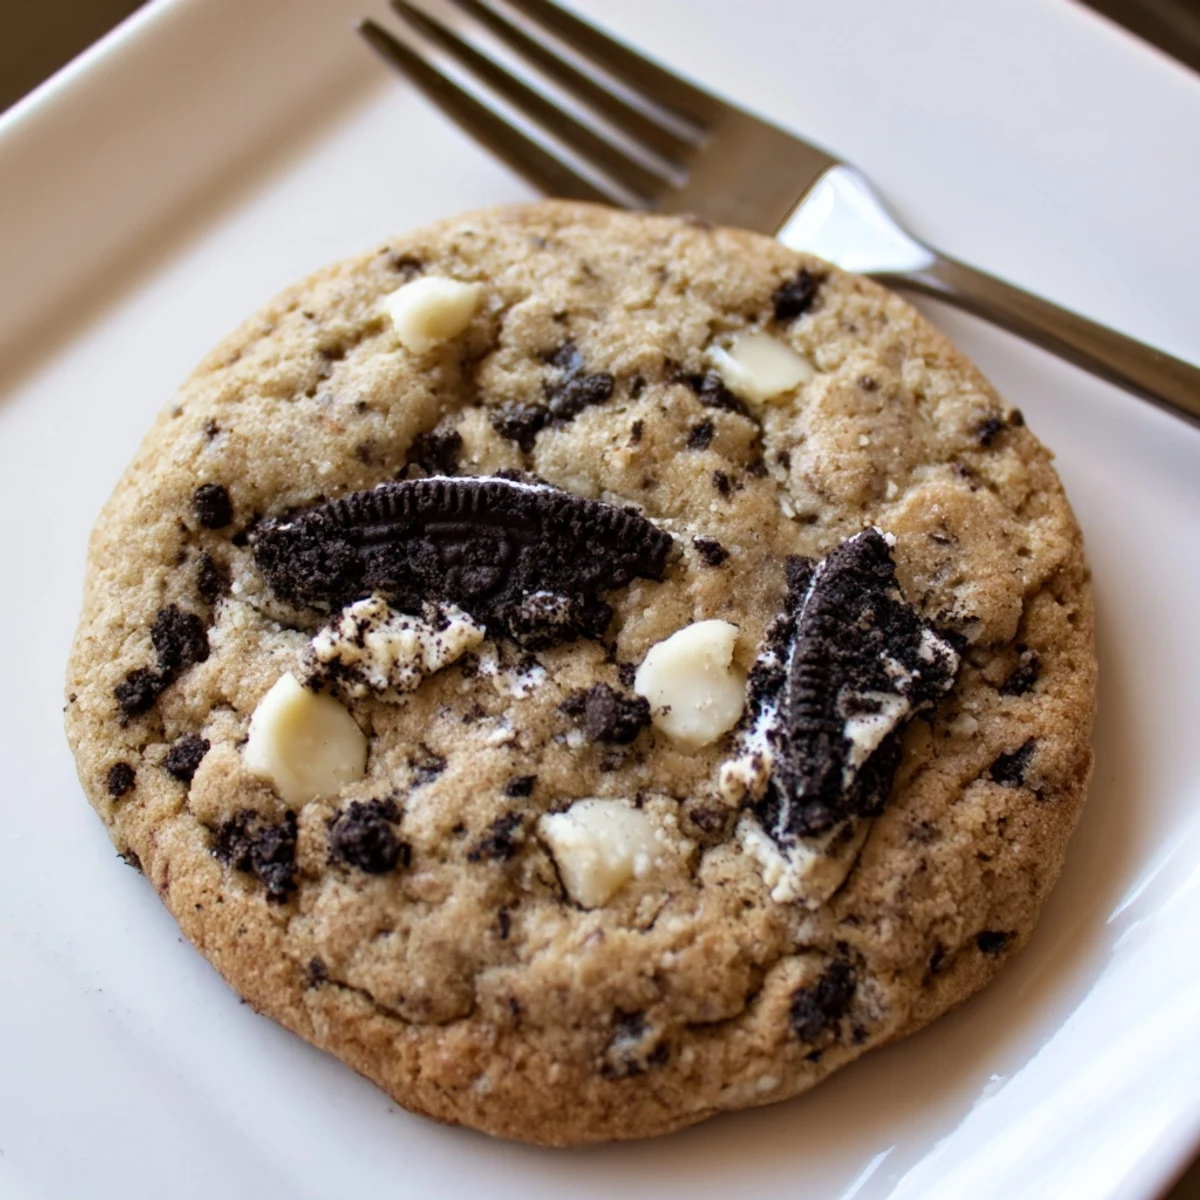
 My daughter now requests these for every school event and birthday, and honestly I don't mind making them at all. There's something about that first bite when the white chocolate is still slightly melted that just hits the spot.
Getting That Perfect Texture
Softened butter should yield to gentle pressure but still hold its shape, not melty or greasy. If your dough feels too soft after mixing, chill it for 15 minutes before scooping. This helps the cookies hold their shape better while baking.
Customization Ideas
Sometimes I swap half the white chocolate for milk chocolate chips when I want something less sweet. A teaspoon of espresso powder mixed into the dry ingredients deepens the chocolate flavor without making these taste like coffee. You can also press a few extra cookie chunks on top before baking for that bakery look.
Storage And Freezing
These cookies stay fresh in an airtight container for up to five days, though they rarely last that long in my house. For longer storage, freeze the baked cookies in freezer bags for up to three months. You can also freeze scooped dough balls and bake them straight from frozen, just add one extra minute to the baking time.
- Freeze dough balls on a baking sheet first, then transfer to a bag so they don't stick together
- Baked cookies can be refreshed in a 300°F oven for 3 minutes if they've lost their freshness
- Room temperature dough bakes up thinner and crispier, while chilled dough gives you thicker, softer cookies
 Save to Pinterest
 Hope these bring as much joy to your kitchen as they have to mine. Happy baking and don't forget to save at least one warm cookie for yourself.
Recipe Questions & Answers
- → Can I use different sandwich cookies?
-
Yes, any chocolate sandwich cookies work well. Regular Oreos, golden Oreos, or even store-brand alternatives provide great flavor and texture.
- → Why chill the dough?
-
Chilling for 30 minutes prevents excessive spreading and helps maintain a thicker, softer texture. It also enhances flavor development.
- → How do I store these?
-
Keep in an airtight container at room temperature for up to 5 days. For longer storage, freeze individually wrapped treats for up to 3 months.
- → Can I make the dough ahead?
-
Absolutely. Scoop the dough onto a baking sheet, freeze until solid, then transfer to a freezer bag. Bake from frozen, adding 1-2 minutes to the baking time.
- → What makes them soft and chewy?
-
The combination of brown sugar and butter creates moisture, while slightly underbaking ensures a soft center. The 5-minute cooling period on the baking sheet also helps set the texture.
- → Can I add mix-ins?
-
Try adding chopped nuts, sprinkles, or swapping white chocolate for milk or dark chocolate. Just keep total add-ins to about 2 cups to maintain proper dough consistency.