 Save to Pinterest
 These flourless bars come together in just 10 minutes of prep time, using mashed ripe bananas as the base instead of flour. The combination of creamy peanut butter and natural sweetness from bananas creates a rich, satisfying treat that's naturally gluten-free.
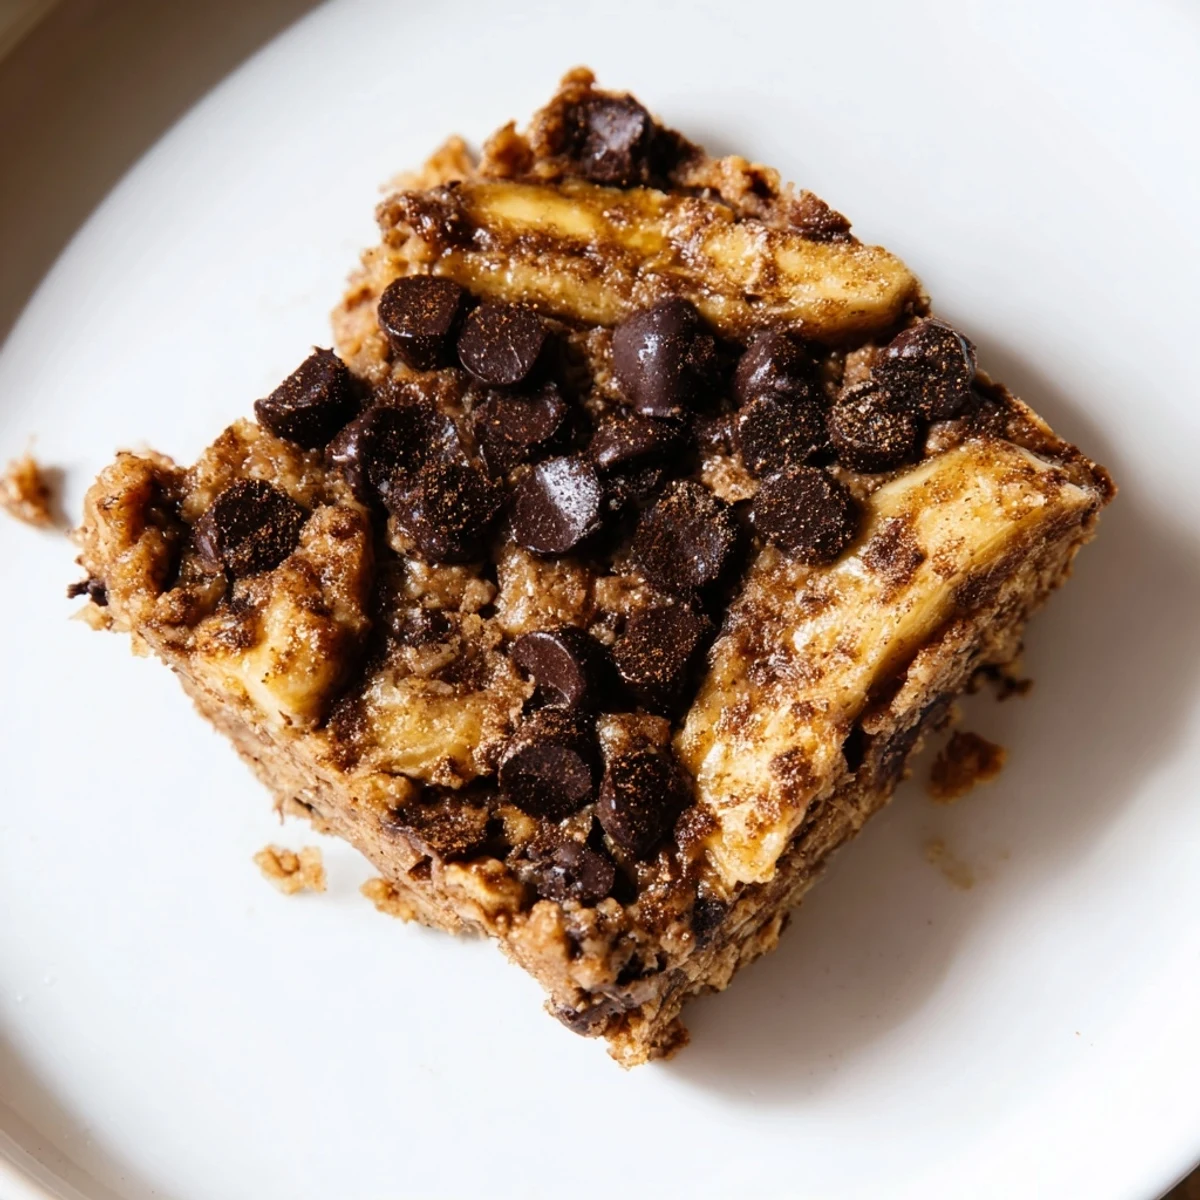
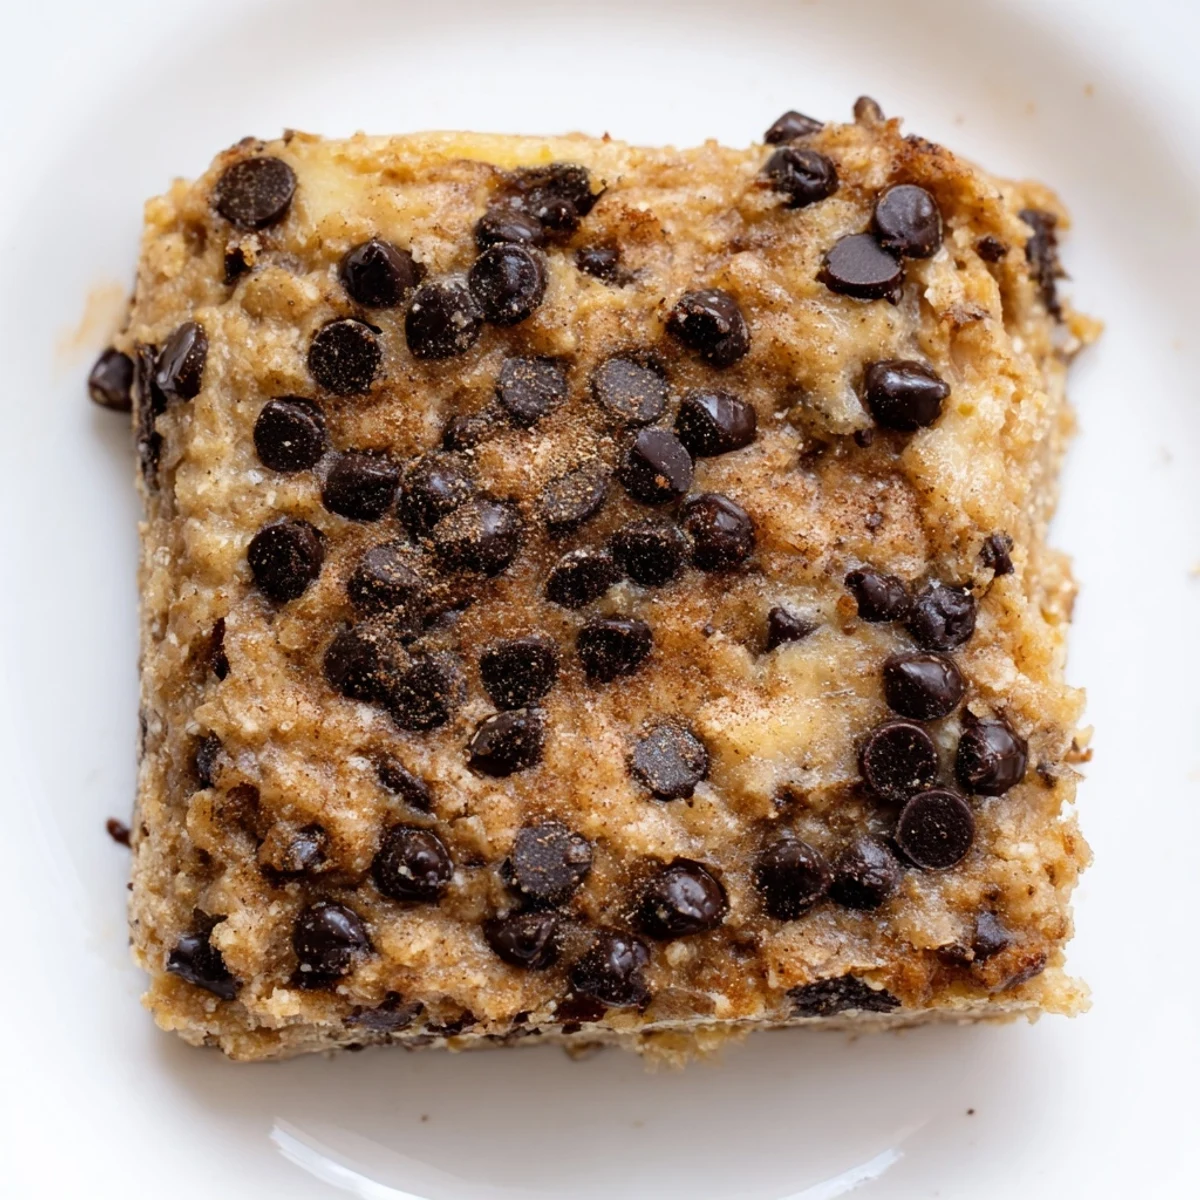
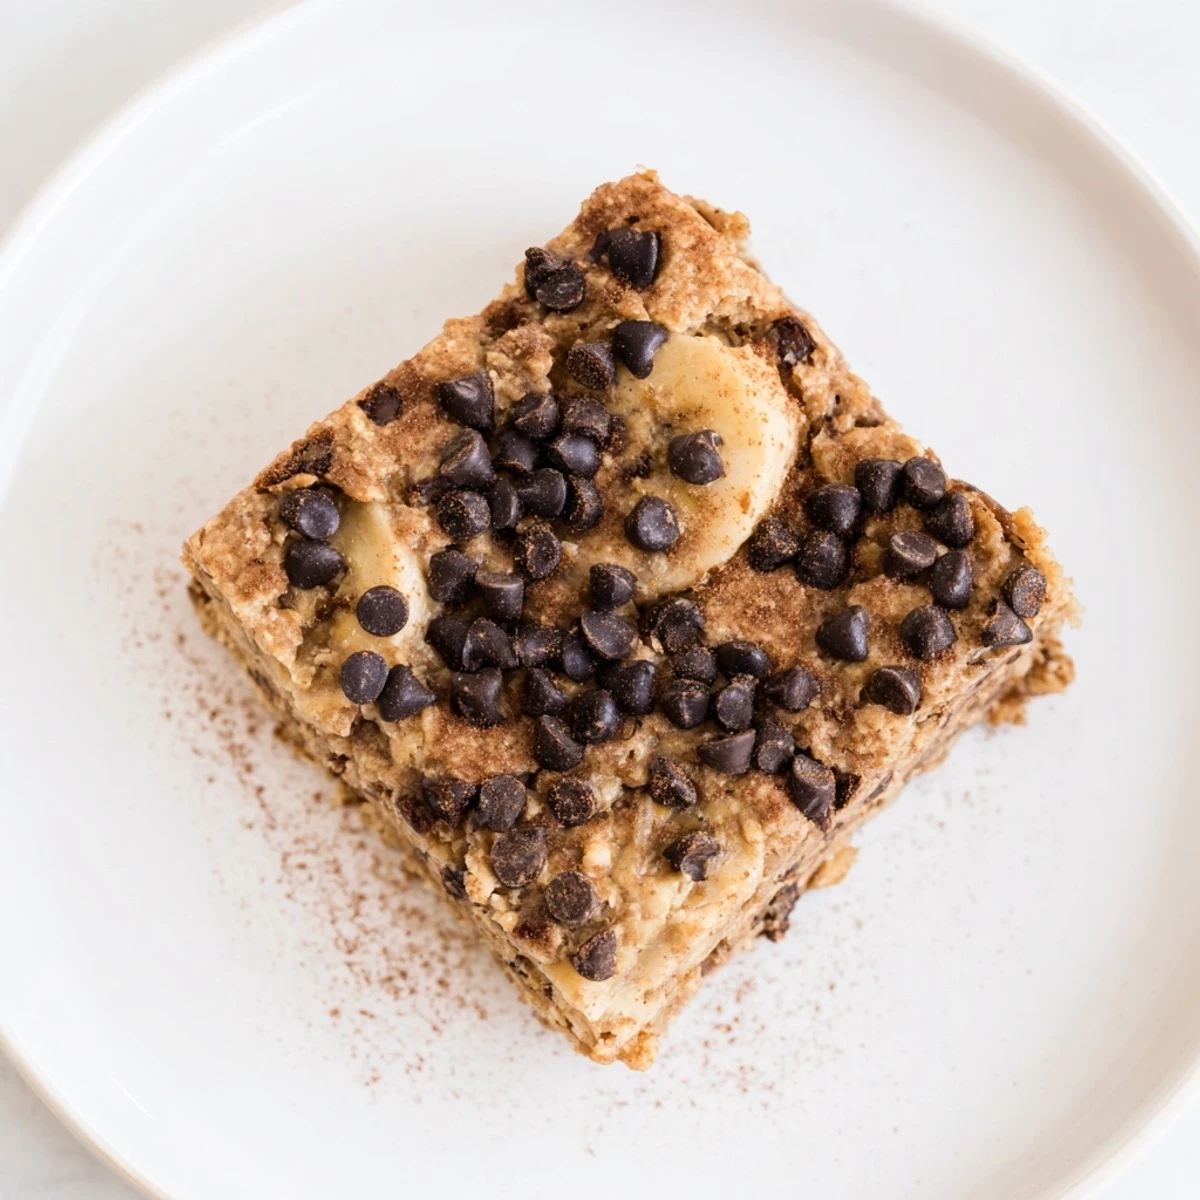
Bake for 22 minutes until set, then cool completely before slicing into 8 bars. The texture is dense and fudgy, similar to a blondie but with the distinct flavors of peanut butter and banana shining through.
Optional dark chocolate chips add extra richness, while cinnamon and sea salt enhance the natural flavors. These bars store well in the refrigerator for up to 5 days and can be frozen for longer storage.
My roommate walked into the kitchen last Tuesday asking what smelled like a peanut butter cup wrapped in a warm blanket. That was the moment these bars officially became a household staple. I had been experimenting with gluten-free baking for weeks, but this was the first recipe where I did not have to apologize for the texture. Now they disappear faster than I can bake them.
Last summer my sister came to visit and mentioned she had started avoiding gluten. I panicked because baking was our thing and I felt completely lost without my usual flour-based standby recipes. We threw together these bars with whatever we had in the cupboard and she actually cried when she took the first bite. That afternoon in the kitchen taught me that the best recipes often come from working with what you have rather than following some rigid plan.
Ingredients
- 2 large ripe bananas mashed: The darker the spots the better because they add natural sweetness and moisture that makes these bars incredible.
- 1 cup creamy peanut butter: I use the kind that separates because it gives a deeper peanut flavor but regular works fine too.
- 2 large eggs: Room temperature eggs incorporate better so set them out about twenty minutes before you start mixing.
- 1/4 cup pure maple syrup or honey: This balances the banana sweetness without making the bars taste like dessert.
- 1 tsp vanilla extract: Pure vanilla makes a huge difference here since there are so few ingredients.
- 1/2 tsp ground cinnamon: It adds warmth that makes the peanut butter taste even more peanutty.
- 1/4 tsp fine sea salt: Do not skip this because it makes all the flavors pop forward.
- 1/2 tsp baking soda: This gives just enough lift without making the bars cakey or dry.
- 1/3 cup dark chocolate chips optional: I personally think chocolate makes everything better but the bars are plenty good without it.
Instructions
- Preheat your oven:
- Get your oven to 350°F (175°C) and line an 8x8-inch pan with parchment paper hanging over the sides for easy removal later.
- Mash the bananas:
- Use a fork or potato masher to break down the bananas until they are mostly smooth with just a few small chunks remaining.
- Mix the wet ingredients:
- Combine the mashed bananas peanut butter eggs maple syrup and vanilla in a large bowl then mix until everything is completely smooth and incorporated.
- Add the dry ingredients:
- Sprinkle in the cinnamon salt and baking soda then stir gently until you no longer see any white powder pockets.
- Fold in the chocolate:
- If you are using chocolate chips add them last with just a few turns of the spatula so they stay whole throughout the batter.
- Bake to perfection:
- Spread the batter evenly in your prepared pan and bake for 20-22 minutes until the center is set and a toothpick comes out clean.
- Cool completely:
- Let the bars cool in the pan for at least an hour before slicing because they need this time to set properly.
 Save to Pinterest
 My nephew declared these better than the regular peanut butter bars he had at school which felt like the ultimate compliment from a skeptical eleven year old. We now make them together every time he visits and he has memorized the entire recipe. Watching him gain confidence in the kitchen has been the unexpected gift that keeps on giving.
Making These Vegan
My friend Sarah tested the vegan version using flax eggs and reported that the texture is just as good maybe even a bit more substantial. She uses ground flaxseed mixed with water and lets it sit for five minutes until it develops that gelatinous texture that binds everything together.
Storage Secrets
I learned the hard way that these bars need to be stored in the refrigerator because the high banana content makes them spoil faster than regular baked goods. They keep for about five days in the fridge and freeze beautifully for up to three months if you wrap them individually.
Serving Ideas
Sometimes I warm a bar in the microwave for fifteen seconds and top it with a scoop of vanilla ice cream for an incredible dessert. Other days I eat one cold from the fridge with my morning coffee because the dense texture is so satisfying.
- A sprinkle of flaky sea salt on top takes these to restaurant quality territory.
- Drizzling melted chocolate over the whole pan before slicing makes them look fancy for company.
- Cutting them into smaller squares makes perfect bite sized party treats.
 Save to Pinterest
 These bars have become my go-to for everything from quick breakfasts to last minute dessert guests which is exactly the kind of recipe I treasure most.
Recipe Questions & Answers
- → Can I make these bars vegan?
-
Yes, substitute the two large eggs with flax eggs (2 tablespoons ground flaxseed mixed with 5 tablespoons water) and ensure your chocolate chips are dairy-free. The texture remains similarly moist and dense.
- → How should I store these bars?
-
Store cooled bars in an airtight container in the refrigerator for up to 5 days. They can also be frozen individually wrapped for up to 3 months. The bars actually taste better after chilling as the flavors meld together.
- → Can I use natural peanut butter?
-
Natural peanut butter works perfectly, though you may want to warm it slightly to make it easier to mix. Just be sure to stir well before measuring, as the oil tends to separate.
- → How do I know when the bars are done baking?
-
The bars are finished when the center is set and a toothpick inserted comes out clean or with just a few moist crumbs. They should feel firm to the touch but not hard—overbaking will make them dry.
- → Can I add other mix-ins?
-
Feel free to customize with chopped nuts, shredded coconut, or dried fruit. You can also swap the dark chocolate chips for white chocolate or leave them out entirely for a simpler version.