Save to Pinterest
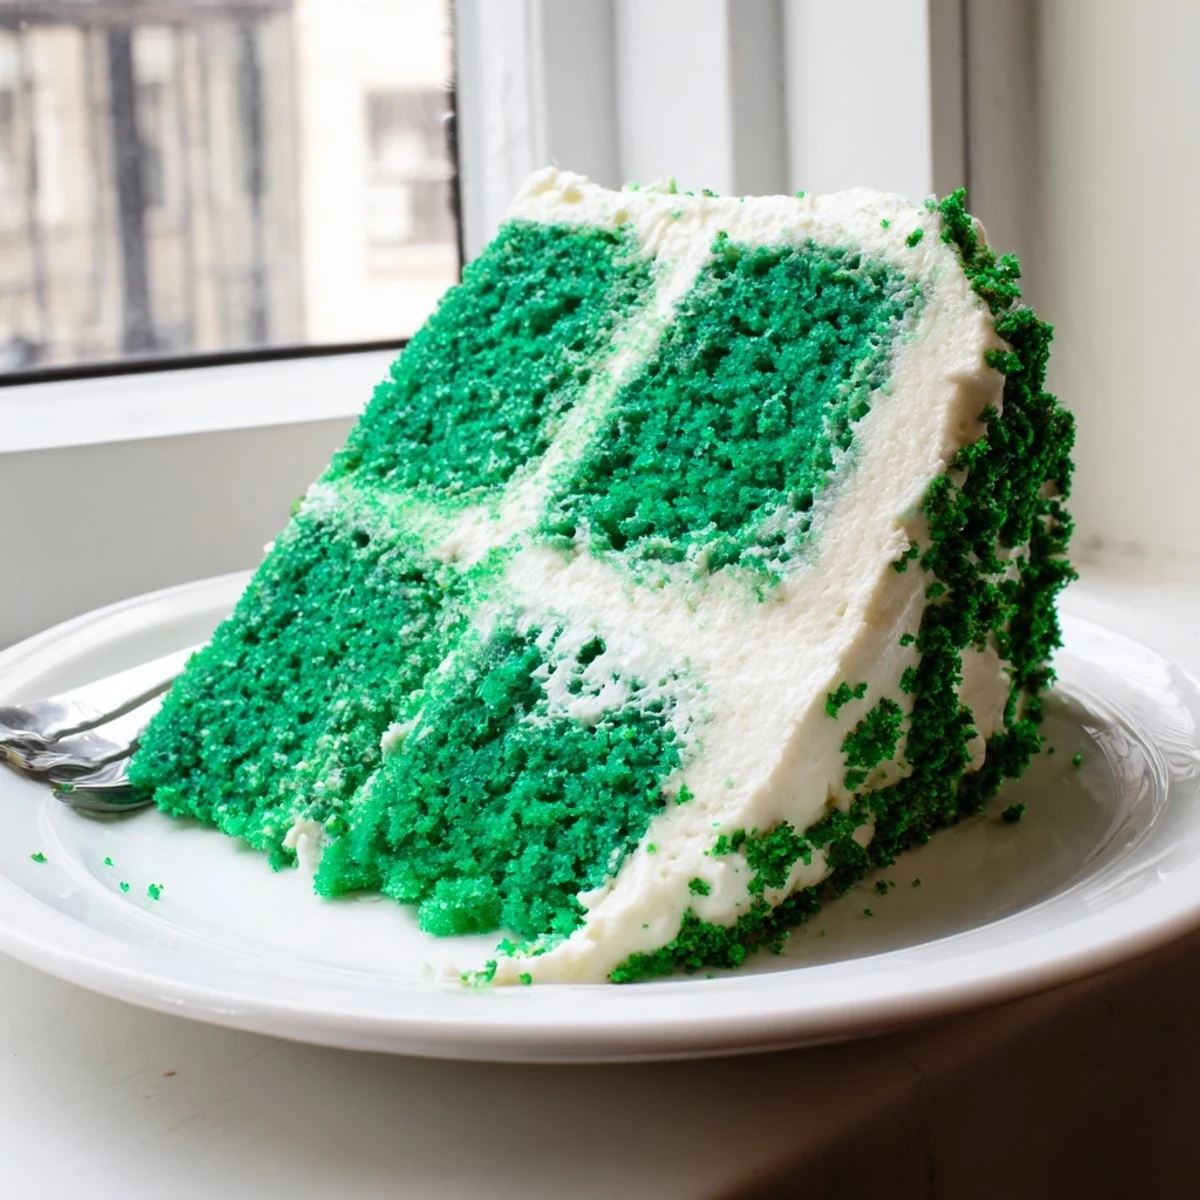
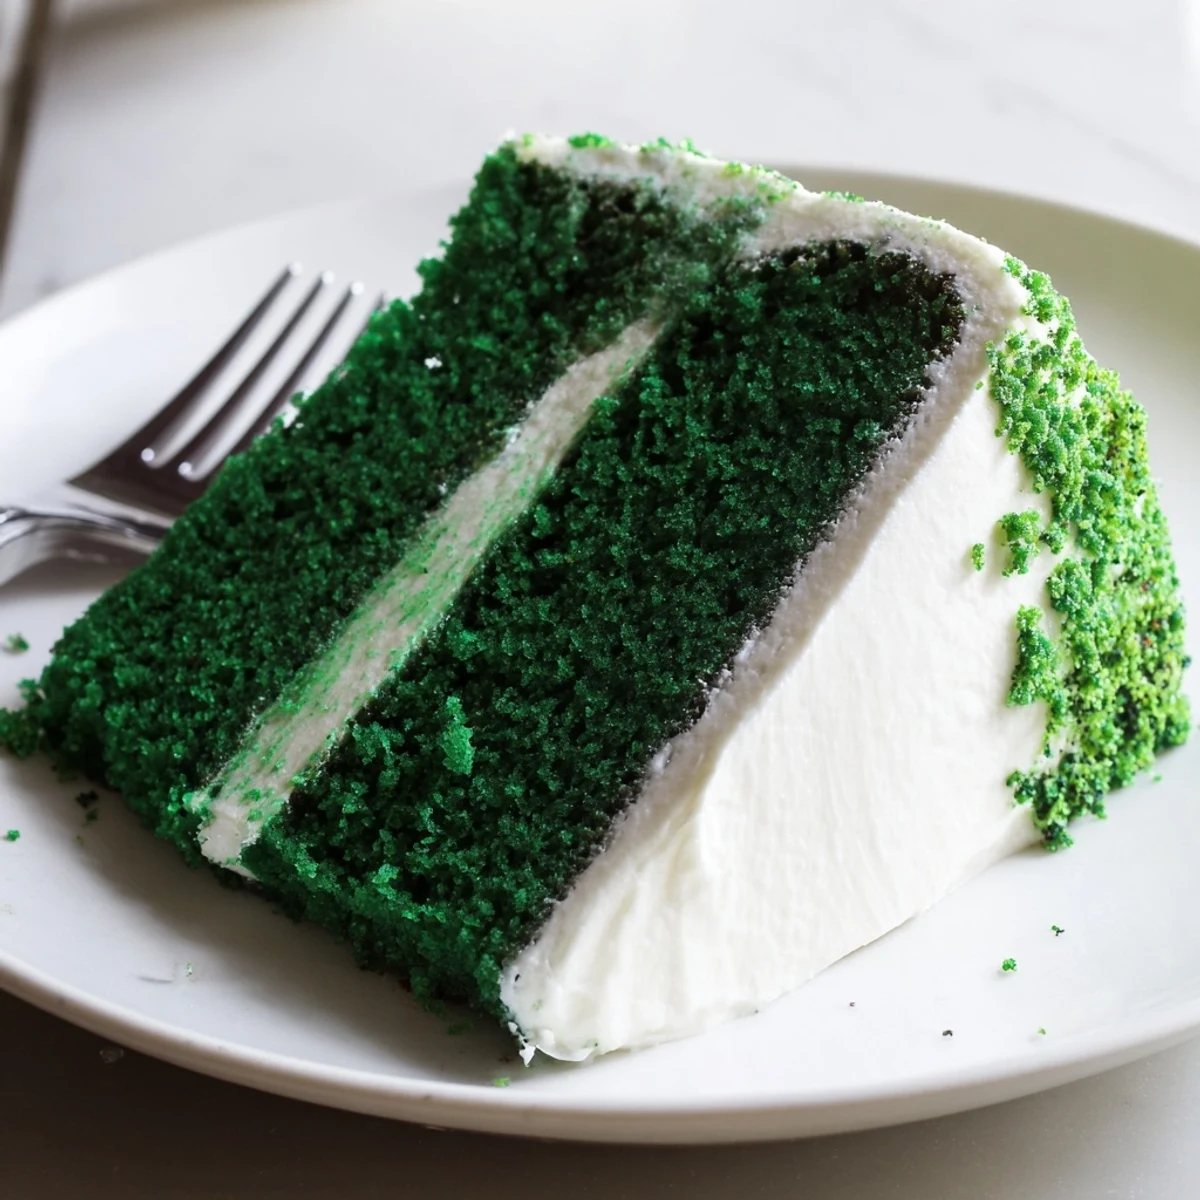
 This vibrant dessert transforms the beloved red velvet into a striking emerald masterpiece. The tender crumb carries gentle cocoa undertones, perfectly balanced by tangy cream cheese frosting. Ideal for St. Patrick's Day festivities or any celebration calling for visual drama. The green gel coloring creates that signature jewel tone, while buttermilk ensures moisture and traditional velvet texture. Decorate with sprinkles or cake crumbs for extra flair.
The first time I attempted a green velvet cake was actually by accident. I had intended to make my usual red velvet for a friend's birthday, but grabbed the wrong bottle of food coloring in my pantry's chaotic aftermath. After staring at that shocking emerald batter, I decided to commit to the happy mistake. That cake disappeared faster than any dessert I've ever made, and now St. Patrick's Day feels incomplete without it.
Last March, my neighbor asked me to bring dessert for her annual Irish themed dinner party. I showed up with this cake still slightly warm, thinking I had completely messed up when I saw her perfectly decorated store bought cupcakes. An hour later, she was asking for the recipe and threatening to swap her cupcake tradition for this cake permanently.
Ingredients
- All purpose flour: The foundation of that tender crumb, spoon and level it to avoid packing too much in
- Unsweetened cocoa powder: Just enough to give depth and that classic velvet backbone without overpowering the green
- Baking soda: Reacts with the buttermilk and vinegar for lift, making sure the layers rise properly
- Salt: Enhances everything and keeps the sweetness from becoming one dimensional
- Granulated sugar: Sweetens while helping create that velvet texture we love in these cakes
- Vegetable oil: Keeps the cake incredibly moist for days, unlike butter which can firm up when chilled
- Large eggs: Room temperature eggs incorporate better and help structure the layers
- Buttermilk: The essential tenderizing agent that reacts with baking soda for that signature velvet texture
- Pure vanilla extract: Balances the chocolate and brings everything together
- White vinegar: Reacts with baking soda and buttermilk for extra lift and tenderness
- Green gel food coloring: Gel coloring is much more concentrated than liquid, so start with one tablespoon and add more as needed
- Cream cheese: Must be completely softened to prevent lumps in your frosting
- Unsalted butter: Room temperature butter combines smoothly with cream cheese for that silky finish
- Powdered sugar: Sifting first prevents those frustrating tiny lumps that can ruin frosting texture
- Vanilla extract: A second dose in the frosting ties everything together beautifully
- Salt: Just a pinch keeps the frosting from becoming cloyingly sweet
Instructions
- Preheat your oven and prepare the pans:
- Set your oven to 350°F (175°C) and grease two 9-inch round pans thoroughly. Line the bottoms with parchment paper, then grease again, paying special attention to the corners
- Whisk the dry ingredients together:
- In a medium bowl, combine the flour, cocoa powder, baking soda, and salt until everything is evenly distributed. Set this aside while you prepare the wet ingredients
- Beat sugar and oil:
- In a large bowl, beat the sugar and vegetable oil until they're well combined. The mixture will look sandy rather than smooth, which is completely normal for this type of cake
- Add the eggs and remaining wet ingredients:
- Add the eggs one at a time, beating well after each addition. Pour in the buttermilk, vanilla extract, white vinegar, and green food coloring, whisking until the batter is an even, stunning shade of emerald
- Combine wet and dry ingredients:
- Add the dry ingredients to the wet mixture in two separate batches, folding gently until just incorporated. A few small streaks of flour are better than overmixing, which can make the cake tough
- Divide and bake the cake layers:
- Pour the batter evenly between your prepared pans, using a kitchen scale if you want precision. Bake for 28 to 32 minutes, or until a toothpick inserted in the center comes out clean with just a few moist crumbs
- Cool the cakes completely:
- Let the layers cool in their pans for exactly 10 minutes before carefully turning them out onto wire racks. Waiting until they're completely cool prevents the frosting from melting and sliding off
- Make the cream cheese frosting:
- Beat the softened cream cheese and butter together until absolutely smooth and fluffy. Add the sifted powdered sugar, vanilla, and pinch of salt, beating until the frosting is light and holds its shape
- Assemble and frost the cake:
- Place one cooled layer on your serving plate and spread a generous layer of frosting over the top. Set the second layer on top and frost the entire cake, swirling the frosting with your offset spatula for that rustic, professional look
 Save to Pinterest
 My daughter now requests this cake instead of a traditional birthday cake every year. The way her eyes light up when she sees that bright green slice makes all the experimentation worth it, and the texture really is incomparable to any other cake I've made.
Making It Ahead
I've learned through experience that this cake actually tastes better the next day, once the flavors have had time to meld. Wrap the unfrosted layers tightly in plastic wrap and store at room temperature for up to two days, or freeze for up to a month.
Getting That Perfect Green Color
The shade of green you achieve depends entirely on the food coloring brand you choose. I've found that leaf green from gel coloring sets gives the most natural emerald hue, while mixing forest and lime greens creates something more vibrant and playful.
Frosting Like A Pro
After years of struggling with cake sides sliding apart, I discovered a simple trick that changed everything. Apply a thin crumb coat of frosting over the entire cake first, chill for 20 minutes, then add your final layer of frosting for a perfectly clean finish.
- Chill your frosted cake for 30 minutes before slicing to get those picture perfect, clean edged slices
- Run your knife under hot water and wipe it clean between each slice for the smoothest cuts
- Store any leftover cake covered at room temperature for up to three days, though it rarely lasts that long
 Save to Pinterest
 Whether you are celebrating St. Patrick's Day or just need something vibrant and special, this cake never fails to make people smile before they even take a bite.
Recipe Questions & Answers
- → What makes green velvet different from red velvet?
-
The primary difference is food coloring—green gel replaces traditional red dye. Both share the same cocoa-tinged buttermilk base and cream cheese frosting, creating that signature velvety crumb and tangy sweetness.
- → Can I use liquid food coloring instead of gel?
-
Liquid coloring works but requires larger amounts, which can affect batter consistency. Gel provides concentrated color with minimal impact on texture. Start with 1 tablespoon and add more for deeper emerald shades.
- → How should I store this dessert?
-
Keep refrigerated in an airtight container for up to 5 days. The cream cheese frosting requires cool temperatures to maintain structure. Bring to room temperature 30 minutes before serving for optimal texture.
- → What can I substitute for buttermilk?
-
Mix 1 cup regular milk with 1 tablespoon white vinegar and let stand 5 minutes. This homemade version provides the necessary acidity to react with baking soda, creating the tender crumb.
- → Why does my cake have a subtle chocolate flavor?
-
Two tablespoons of cocoa powder create the classic velvet profile—noticeable but never overpowering. This gentle chocolate note balances the sweet frosting and prevents the green coloring from tasting artificial.
- → Can I make this as cupcakes instead?
-
Absolutely. Fill cupcake liners two-thirds full and bake 18-22 minutes at 350°F. The recipe yields approximately 24 standard cupcakes with the same vibrant emerald appearance.