 Save to Pinterest
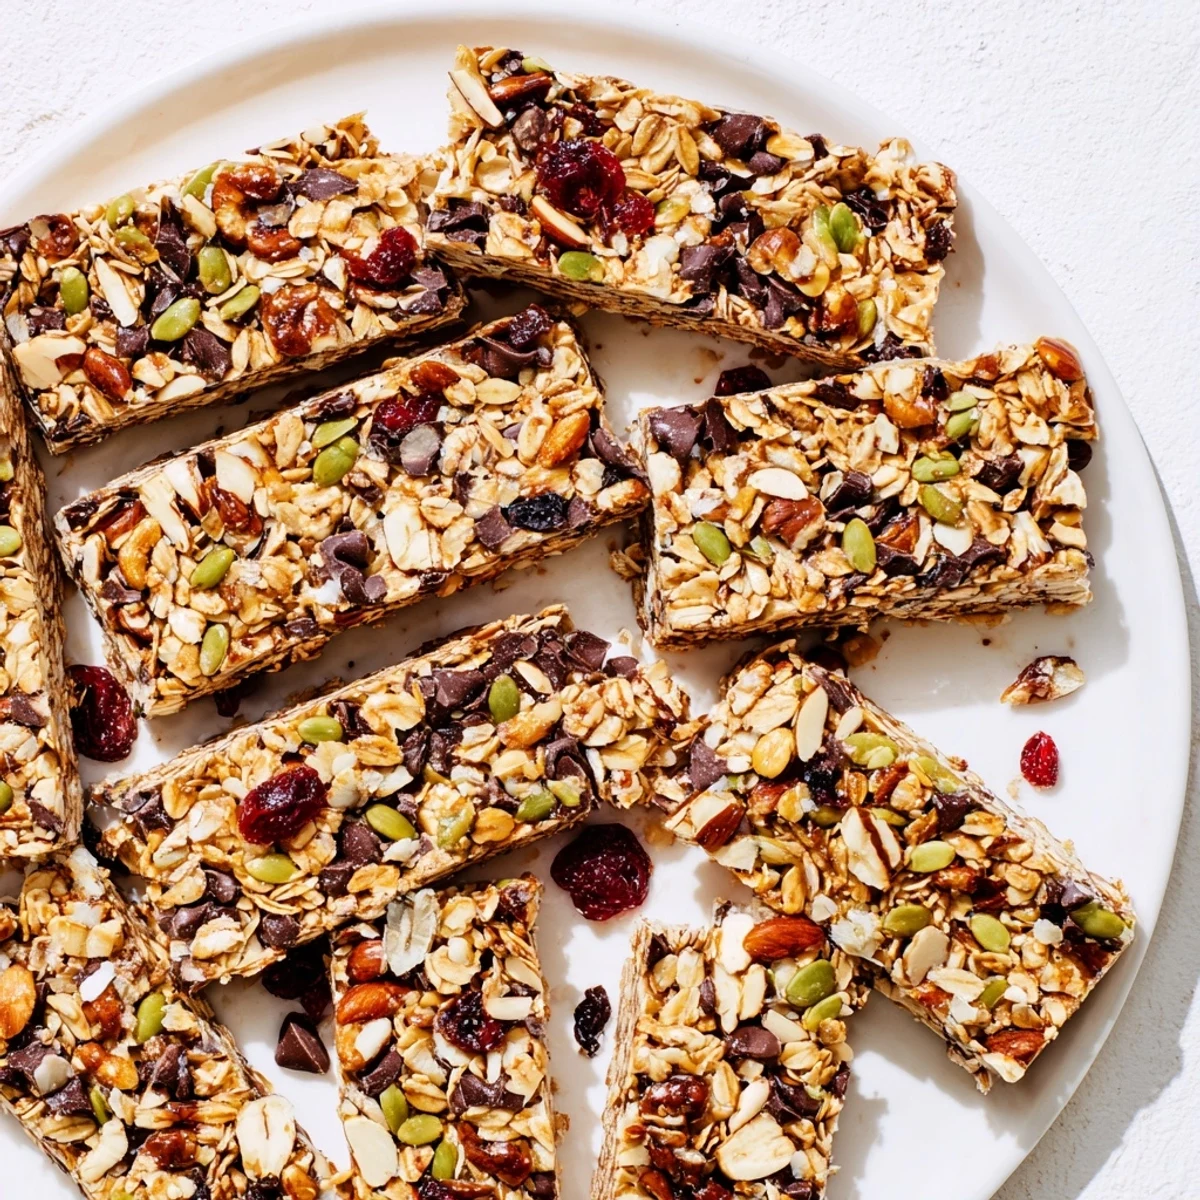
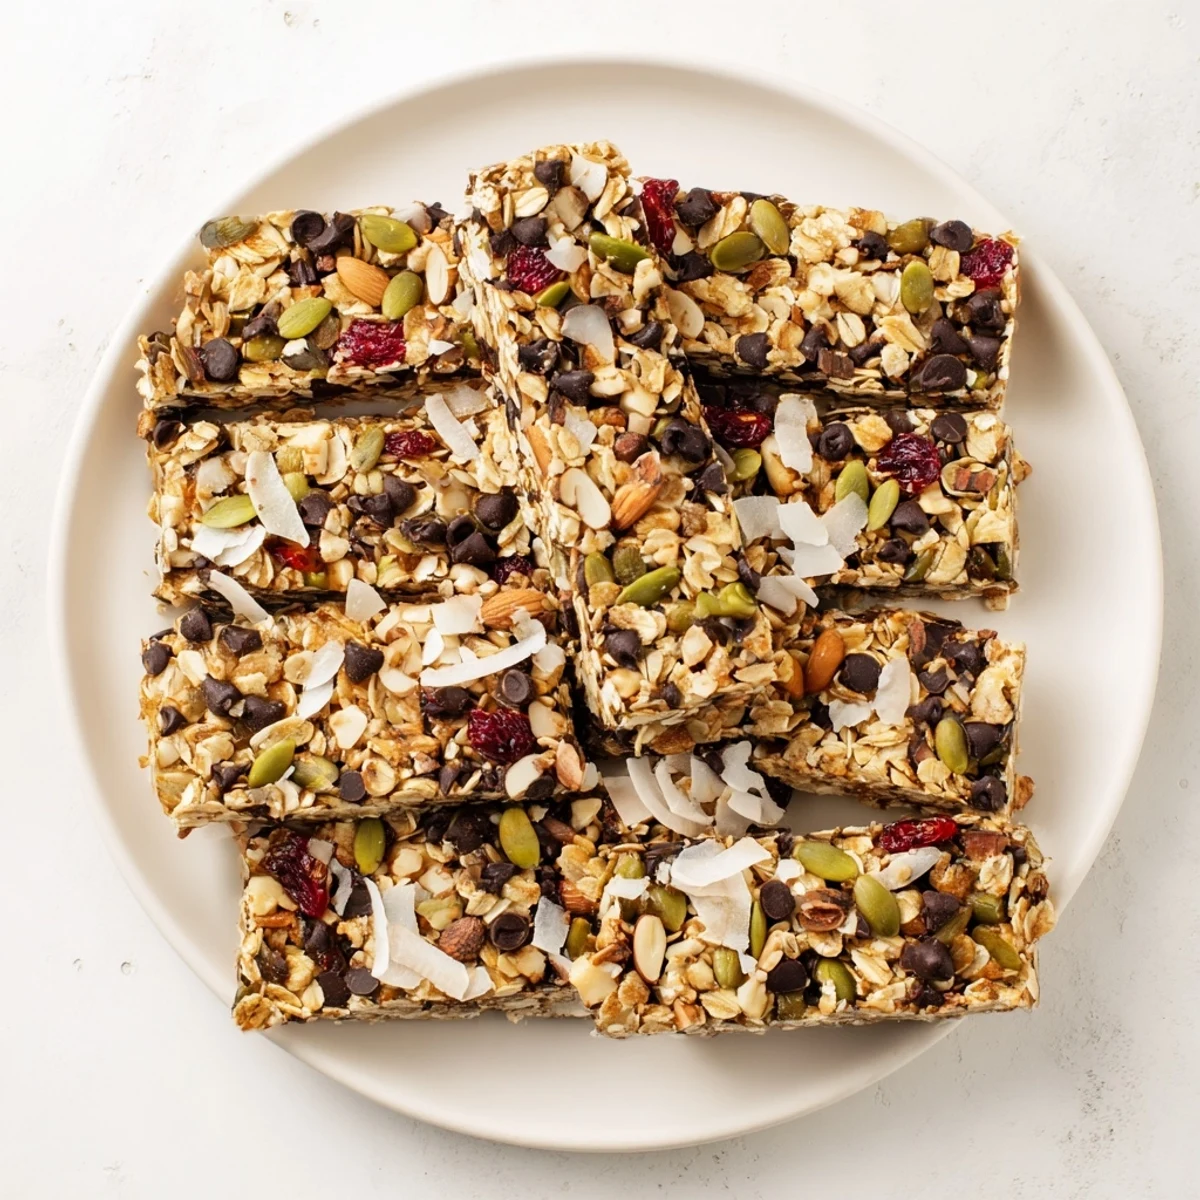
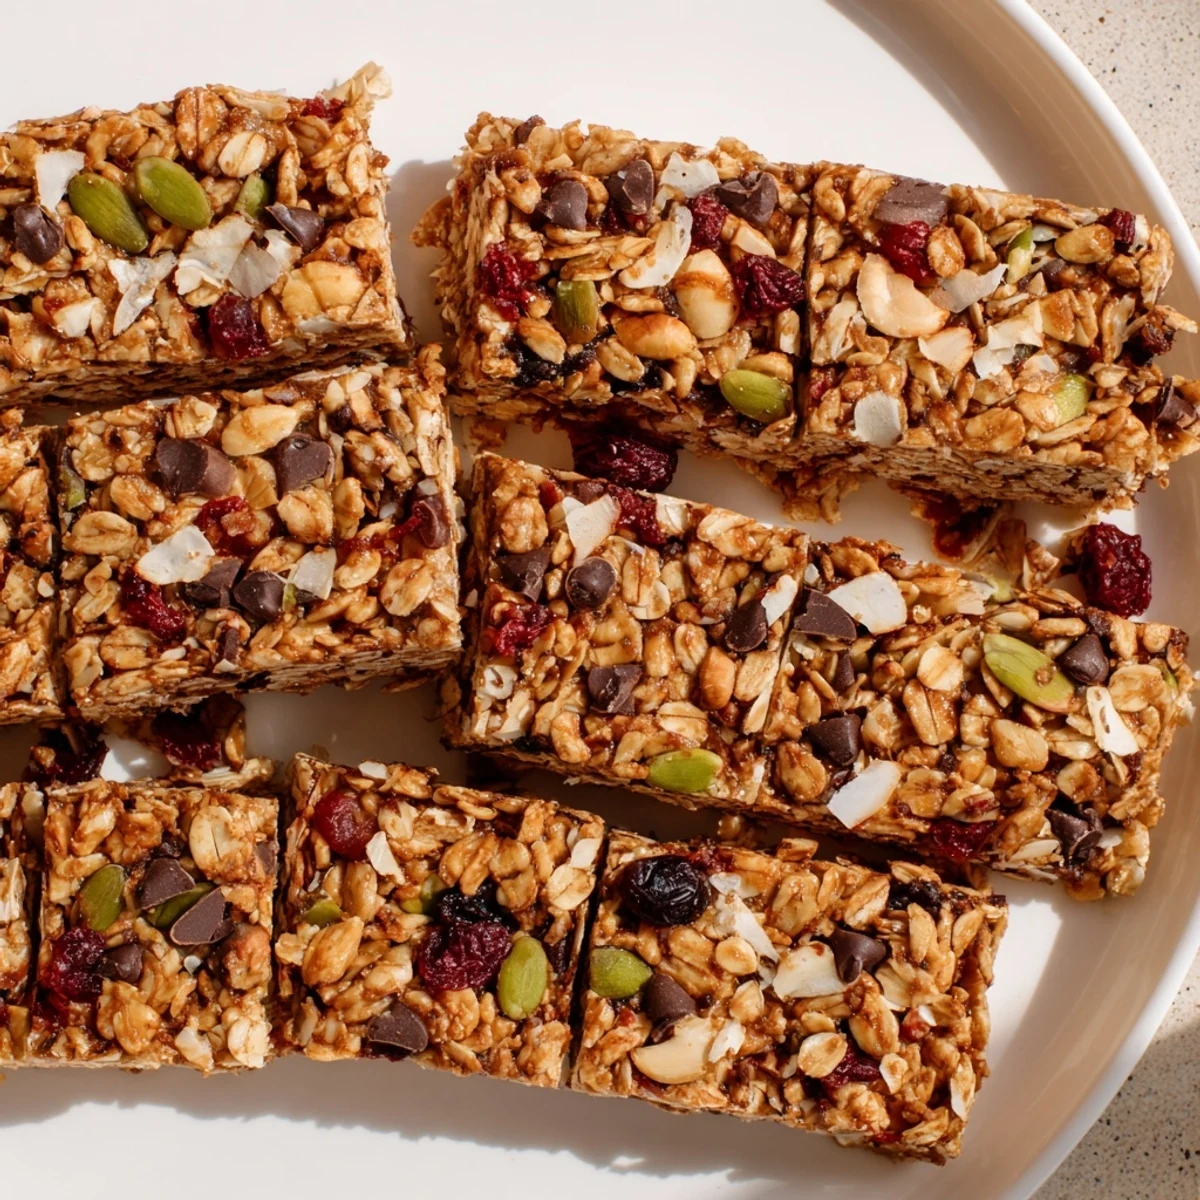
 These wholesome granola bars deliver the perfect balance of crunch and chewiness, loaded with toasted oats, almonds, walnuts, and pumpkin seeds. The natural sweetness comes from honey or maple syrup, while peanut butter binds everything together into satisfying bars. Quick to prepare with just 15 minutes of active time, they're ideal for meal prep or grab-and-go snacking throughout the week. Customize with dried fruit, chocolate chips, or your favorite nuts for endless variations.
I started making these granola bars during college when I realized how much money I was spending on packaged snacks that never quite satisfied me. My tiny apartment kitchen would fill with the warm smell of toasted oats and vanilla, making the whole building smell like a bakery. Now they're the first thing my friends request when I host brunch or send care packages.
Last summer I made a batch for a road trip and ended up sharing them with strangers at a rest stop who asked what smelled so incredible. Something about homemade snacks makes people instantly comfortable, like you're sharing a little piece of your kitchen. I've since started keeping a stash in my freezer for emergency snack situations.
Ingredients
- 2 cups old-fashioned rolled oats: These provide the hearty base and that satisfying chewiness you cannot get with instant oats
- 1/2 cup chopped almonds and 1/2 cup chopped walnuts: Toasting these first releases their natural oils and deepens the flavor significantly
- 1/4 cup pumpkin seeds: They add a lovely crunch and are packed with magnesium without overpowering other flavors
- 1/3 cup honey or maple syrup: This natural sweetener binds everything together while adding just enough sweetness
- 1/4 cup natural peanut butter or almond butter: Creates that irresistible chewy texture and provides protein to keep you satisfied
- 2 tablespoons coconut oil: Helps the bars set properly and adds a subtle richness that pairs beautifully with the vanilla
- 1 teaspoon pure vanilla extract: Do not skimp here because high quality vanilla makes these taste professionally made
- 1/4 teaspoon fine sea salt: Crucial for balancing sweetness and making all flavors pop
- 1/3 cup dark chocolate chips: Use good quality chocolate since this is one of the star ingredients
- 1/3 cup dried cranberries and 2 tablespoons shredded coconut: These add tartness and texture variation throughout every bite
Instructions
- Toast your grains and nuts:
- Spread the oats almonds and walnuts on a baking sheet and toast at 350°F for 8 to 10 minutes until fragrant and lightly golden. Watch closely because nuts can go from perfectly toasted to burnt in seconds.
- Melt the binding mixture:
- Combine honey peanut butter and coconut oil in a small saucepan over low heat stirring constantly until completely smooth and incorporated. Remove from heat immediately and stir in vanilla and salt.
- Combine everything:
- Mix the toasted oats nuts pumpkin seeds and coconut in a large bowl then stir in the dried fruit and chocolate chips. Pour the warm peanut butter mixture over the dry ingredients and fold until everything is evenly coated.
- Press firmly:
- Transfer the mixture to your prepared pan and press down very firmly using the back of a spatula or damp hands. This step is critical because loosely packed bars will fall apart when you cut them.
- Chill and set:
- Sprinkle a few extra chocolate chips on top and press them in lightly then refrigerate for at least 2 hours until completely firm. The chilling time is non negotiable for clean cuts.
- Cut and store:
- Lift the bars out using the parchment overhang and cut into 12 even pieces. Store them in an airtight container in the refrigerator for up to a week though they rarely last that long.
 Save to Pinterest
 My partner used to be skeptical about homemade granola bars until I accidentally made these slightly too thick one day. Now they are the only snack request for hiking trips and office snacks alike. There is something satisfying about making something that usually comes in plastic packaging with twenty ingredients you cannot pronounce.
Making Them Your Own
I have experimented with countless variations over the years and found that the formula is forgiving once you understand the ratios. Swap in sunflower seeds or pecans if you are avoiding certain nuts or add cinnamon and nutmeg for a cozy fall version. The key is maintaining the balance between wet and dry ingredients so they set properly.
Storage Solutions
These granola bars freeze beautifully for up to three months so I always keep a batch wrapped individually in the freezer for busy mornings. Wrap each bar in parchment paper before freezing to prevent them from sticking together. They thaw in about twenty minutes at room temperature or can be eaten straight from the freezer if you like them firmer.
Perfect Texture Tips
The difference between good and great granola bars often comes down to toasting time and cooling patience. I have learned that under toasted oats make for a raw tasting bar while over toasted nuts create bitterness throughout the whole batch.
- Let the toasted oats cool for at least five minutes before mixing with the wet ingredients
- Warm your honey slightly if it has crystallized for easier measuring
- Use kitchen shears to chop dried fruit instead of a knife to prevent sticking
 Save to Pinterest
 These granola bars have become my go to homemade gift because they feel thoughtful without requiring hours of effort. Every time someone tastes them for the first time they cannot believe these are the same ingredients as those dry packaged versions from the store.
Recipe Questions & Answers
- → How long do these bars stay fresh?
-
Stored in an airtight container in the refrigerator, these bars maintain their texture and flavor for up to one week. The chill also helps them stay firm and prevents them from becoming too soft.
- → Can I freeze these granola bars?
-
Yes, these freeze beautifully. Wrap individual bars in plastic wrap and store in a freezer-safe bag for up to three months. Thaw in the refrigerator overnight or enjoy straight from the freezer for a firmer texture.
- → What makes these bars hold together properly?
-
The combination of heated honey or maple syrup with nut butter creates a sticky binder that coats all ingredients. Pressing the mixture firmly into the pan and chilling thoroughly ensures the bars hold their shape when cut.
- → Are these suitable for school lunches?
-
Many schools restrict nuts due to allergies. You can substitute sunflower seed butter for peanut butter and use sunflower seeds instead of nuts to make them school-friendly while maintaining texture and protein content.
- → Why toast the oats and nuts first?
-
Toasting enhances the natural flavors of oats and nuts, creating a deeper, nuttier taste. It also helps remove excess moisture, which contributes to the satisfying crunch in these bars.
- → Can I make these vegan?
-
Simply replace honey with maple syrup and ensure your chocolate chips are dairy-free. The result is just as delicious and structurally sound as the original version.