 Save to Pinterest
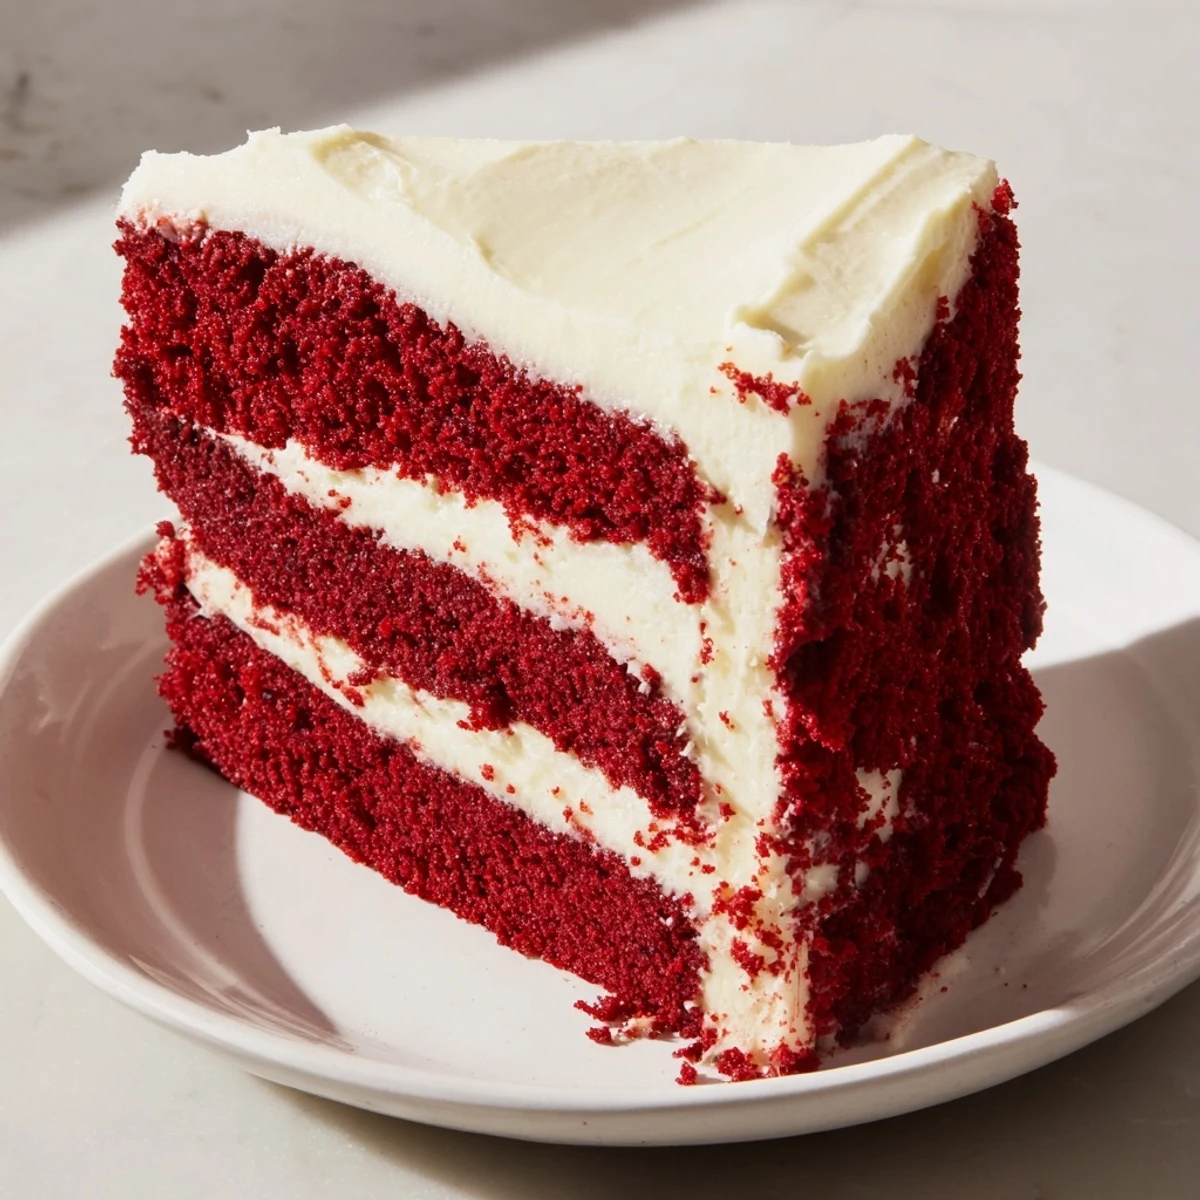
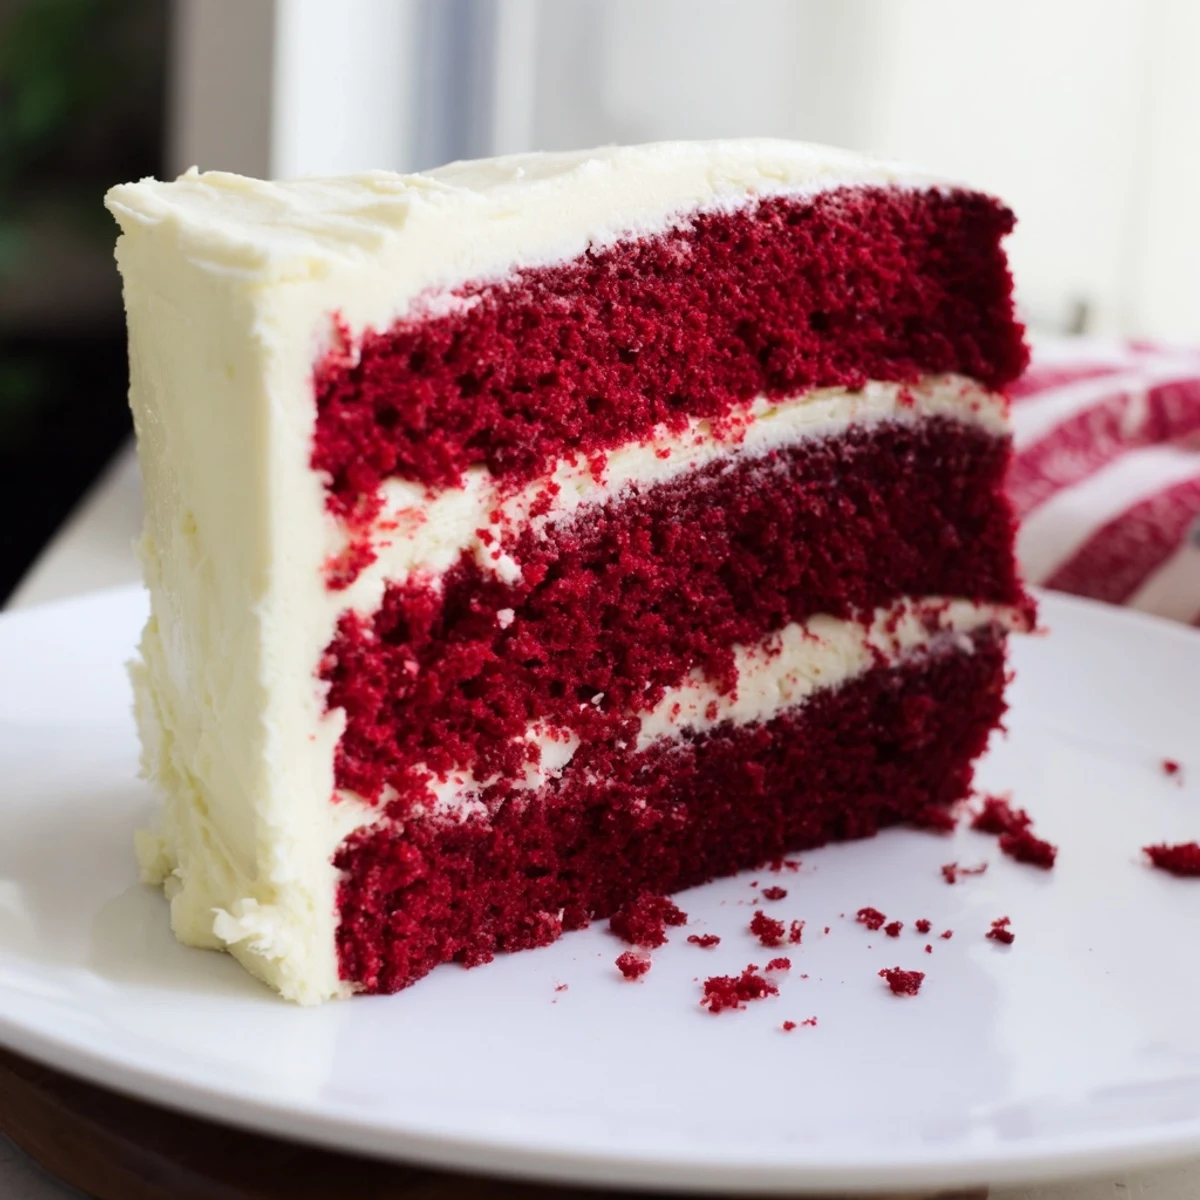
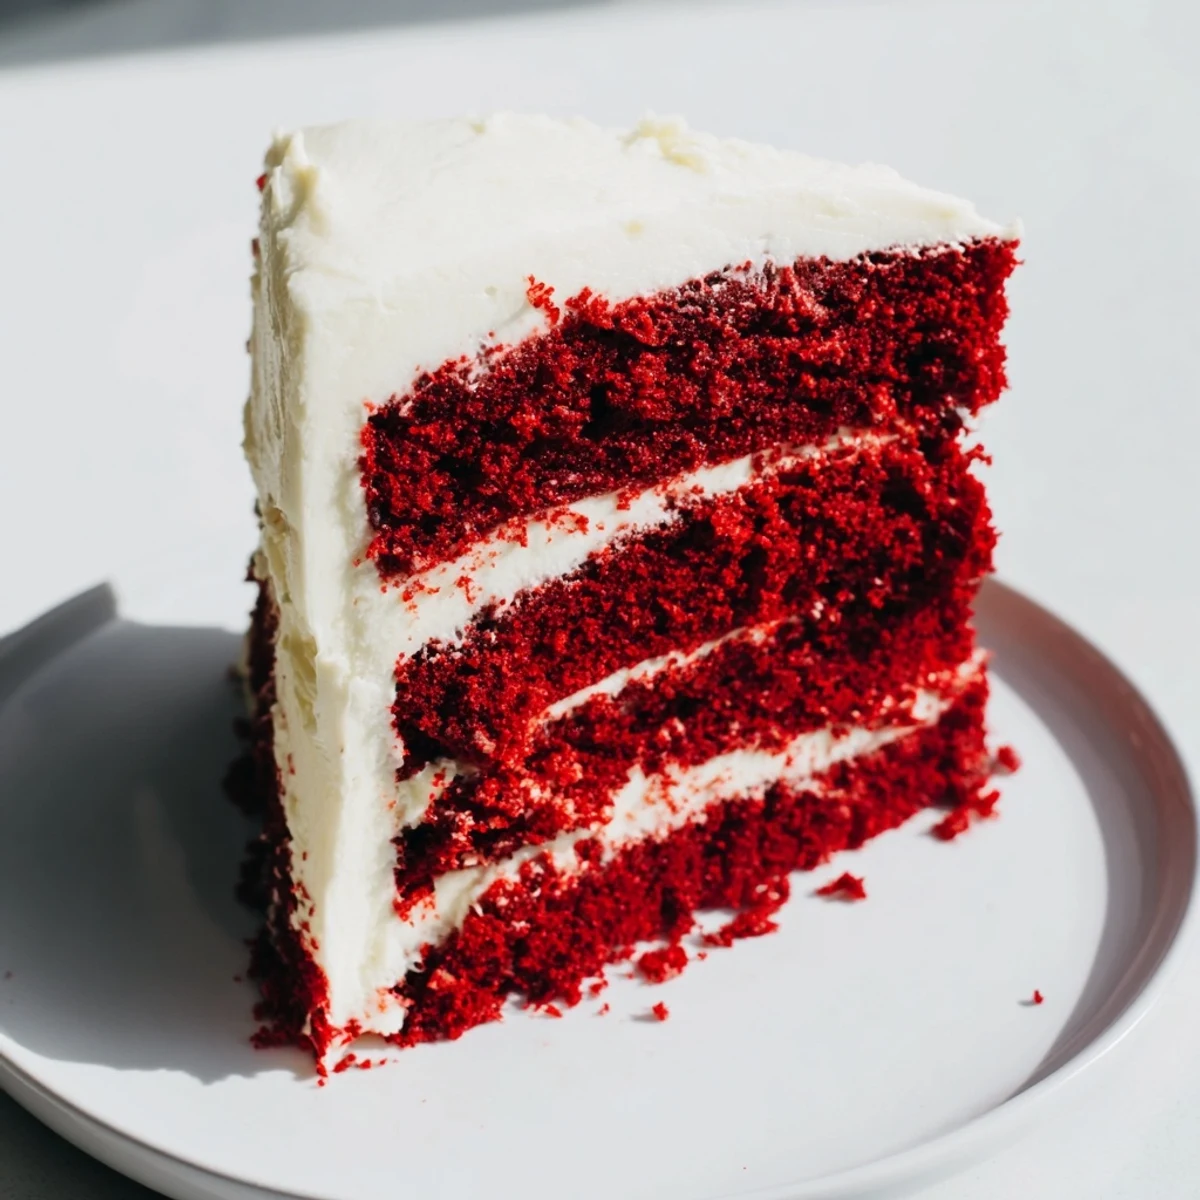
 This stunning red velvet cake features tender, moist layers with just a hint of cocoa for depth. The vibrant red color creates an impressive centerpiece, while the tangy cream cheese frosting adds the perfect balance of sweetness. Ready in about an hour, this American classic yields twelve generous servings, making it ideal for birthdays, holidays, and special gatherings.
The deep crimson color of this cake always catches people off guard at parties. I remember bringing one to a coworkers birthday and watching everyone debate whether it was really chocolate or some kind of magic trick. Theres something theatrical about slicing into that dramatic red reveal.
My sister requested this for her wedding cake after years of me baking it for family gatherings. Standing in the kitchen at 2 AM the night before her reception, frosting layer after layer while everyone else slept, felt like my own quiet contribution to her happiness.
Ingredients
- All-purpose flour: The structure builder, though sifting it first makes all the difference for lightness
- Granulated sugar: Sweetens and helps create that tender crumb we love
- Baking soda: Works with the buttermilk and vinegar for the perfect rise
- Fine salt: Essential for balancing sweetness and enhancing flavors
- Unsweetened cocoa powder: Just enough to give depth without overwhelming the delicate flavor
- Vegetable oil: Keeps the cake moist for days unlike butter which can firm up
- Buttermilk: The secret to tenderness and that subtle tang red velvet is known for
- Large eggs: Room temperature eggs incorporate better for an even batter
- Red food coloring: Creates that iconic color, though gel coloring gives more vibrant results
- Vanilla extract: Pure extract makes a noticeable difference in the final flavor
- White vinegar: Reacts with baking soda for extra lift and enhances the red color
- Cream cheese: Full fat and completely softened prevents lumpy frosting
- Unsalted butter: Also softened to room temperature for silky smooth results
- Powdered sugar: Sifting it first prevents those dreaded white specks in your frosting
Instructions
- Preheat your oven:
- Get it to 350°F and grease those two 9-inch pans like your life depends on it
- Whisk the dry ingredients:
- Sift flour, sugar, baking soda, salt, and cocoa together in a medium bowl
- Combine the wet mixture:
- Whisk oil, buttermilk, eggs, food coloring, vanilla, and vinegar until completely smooth
- Gently fold it together:
- Add dry ingredients to wet ones slowly, mixing just until you dont see flour anymore
- Divide and bake:
- Split batter evenly between pans and bake 28 to 30 minutes until a toothpick comes out clean
- Let them rest:
- Cool in pans for 10 minutes then move to a wire rack to cool completely
- Make the frosting:
- Beat cream cheese and butter until smooth, add powdered sugar gradually
- Assemble with care:
- Frost between layers, then cover top and sides before chilling for clean slices
 Save to Pinterest
 This cake became my go-to for bringing comfort to friends during hard times. Theres something about the combination of rich and tangy that feels like a hug in dessert form.
Getting That Perfect Red
Gel food coloring delivers a more vibrant red than liquid without adding extra moisture to your batter. Start with less than you think and add more gradually, keeping in mind that baking will slightly deepen the color.
Frosting Like A Pro
A crumb coat, that thin layer of frosting applied first and chilled, locks in loose crumbs and creates a smooth foundation for your final layer. It takes patience but the flawless finish is worth every extra minute.
Making It Ahead
The cake layers actually improve after a day wrapped tightly in plastic, developing moisture and flavor. You can bake them up to two days before frosting, and the finished cake stays pristine in the refrigerator for up to five days.
- Bring chilled cake to room temperature 30 minutes before serving
- Store leftover slices individually wrapped for easy midnight snacking
- Freeze unfrosted layers for up to three months if you want to meal prep dessert
 Save to Pinterest
 Every time I serve this, someone asks for the recipe, and that never gets old.
Recipe Questions & Answers
- → What makes red velvet cake different from chocolate cake?
-
Red velvet has a much milder cocoa flavor than traditional chocolate cake. The combination of buttermilk and vinegar creates a tender, velvety texture, while the cream cheese frosting provides a tangy contrast to the subtle sweetness.
- → Can I make red velvet cake ahead of time?
-
Yes, the unfrosted layers can be wrapped tightly and stored at room temperature for one day or frozen for up to three months. The frosted cake keeps well in the refrigerator for 3-4 days when covered properly.
- → Why does my red velvet cake sometimes turn brown instead of red?
-
The natural reaction between cocoa and baking soda can cause slight color changes. Using high-quality gel food coloring instead of liquid helps maintain the vibrant red hue. Baking at the correct temperature also preserves the color.
- → How do I know when the cake is done baking?
-
Insert a toothpick into the center of the cake—it should come out clean or with just a few moist crumbs. The edges should slightly pull away from the pan, and the top should spring back when gently touched.
- → Can I use natural food coloring instead of red dye?
-
Beet juice or pomegranate juice can provide red color, but the result will be more muted. Natural reds tend to brown during baking, so you may need to add more coloring agent to achieve the desired vibrant hue.
- → What's the secret to smooth cream cheese frosting?
-
Ensure both cream cheese and butter are completely softened to room temperature before beating. Sifting the powdered sugar prevents lumps, and beating the frosting for several minutes incorporates air for a light, fluffy texture.