 Save to Pinterest
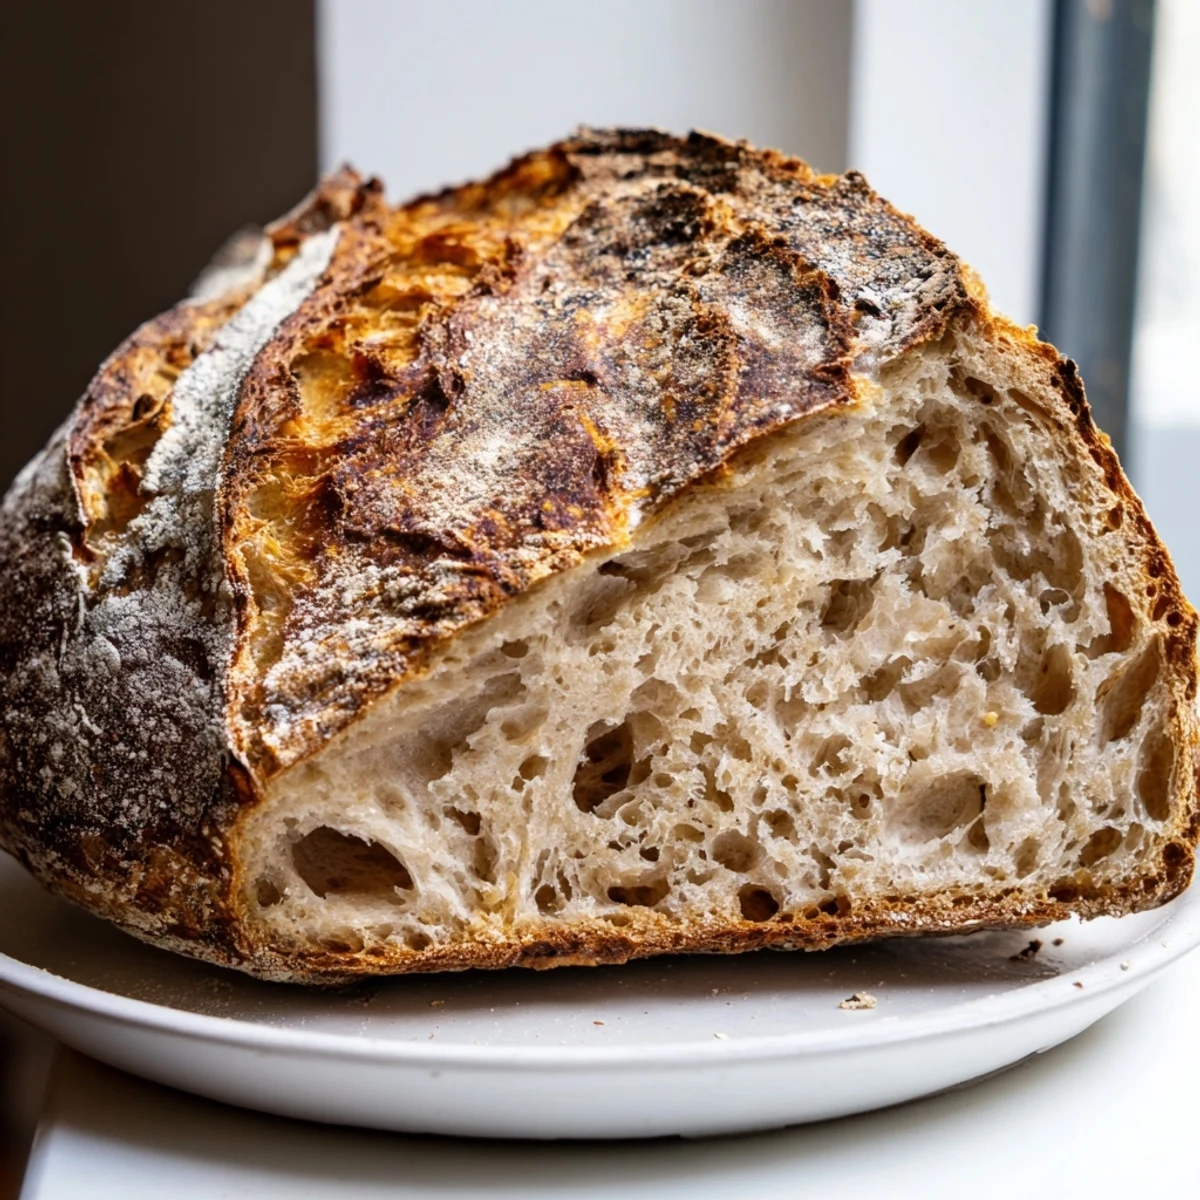
 Create an authentic artisan sourdough loaf with a beautifully crackled crust and open, chewy crumb. This traditional method harnesses wild yeast for that signature tangy depth and complex flavor profile. The process involves careful fermentation, gentle folding, and high-heat baking in a Dutch oven to achieve professional bakery results at home.
The extended fermentation develops remarkable flavor while making nutrients more accessible. Cold-proofing options enhance the sour note, and the versatile finished loaf pairs wonderfully with cultured butter, elevates any sandwich, or stands alone as a remarkable centerpiece for your table.
My kitchen counter became a science lab the first year I started baking sourdough. I named my starter after my grandmother because she had that same bubbling, feisty energy. The smell of fermenting flour became the backdrop of my weekend mornings, better than any candle. Something about waiting twenty hours for bread feels like the right kind of patience.
I brought a loaf to my neighbors last fall and they texted me before I even made it back up my driveway. Now they ask what day baking day is, like they can smell it through the walls. Theres something oddly powerful about making something people will remember.
Ingredients
- 100 g active sourdough starter: Feed it 4 to 8 hours before baking, it should be doubling in size and full of bubbles
- 375 g bread flour: High protein flour creates that chewy texture and structure that holds up to those beautiful air pockets
- 25 g whole wheat flour: Just enough to add depth and character without making the loaf too dense
- 275 g water room temperature: Warm water speeds up fermentation but room temp gives you more control
- 10 g sea salt: Dont skip this, it controls the fermentation and actually brings out the tangy notes
Instructions
- Start with autolyse:
- Mix bread flour, whole wheat flour, and water until shaggy, then let it rest for an hour. This hydrates the flour and starts developing gluten without effort.
- Incorporate starter and salt:
- Add your bubbly starter and salt, then mix by hand until fully combined. The dough should feel sticky and alive.
- Stretch and fold:
- Every 30 to 45 minutes for 4 to 5 hours, grab one side of the dough and fold it over. Rotate the bowl and repeat four times. This builds strength without kneading.
- Shape the dough:
- Turn onto a floured surface, gently shape into a round, and rest for 20 minutes. Then form a tight round and place seam side up in a floured proofing basket.
- Final proof:
- Let rise at room temperature for 2 to 3 hours, or refrigerate overnight. Cold proofing develops more complex flavors and makes scoring easier.
- Bake with steam:
- Preheat your Dutch oven at 250°C for 30 minutes. Invert dough onto parchment, score with a sharp blade, then bake covered for 20 minutes.
- Create the crust:
- Remove the lid, reduce heat to 220°C, and bake another 25 minutes until deep golden brown. The bread should sound hollow when tapped on the bottom.
 Save to Pinterest
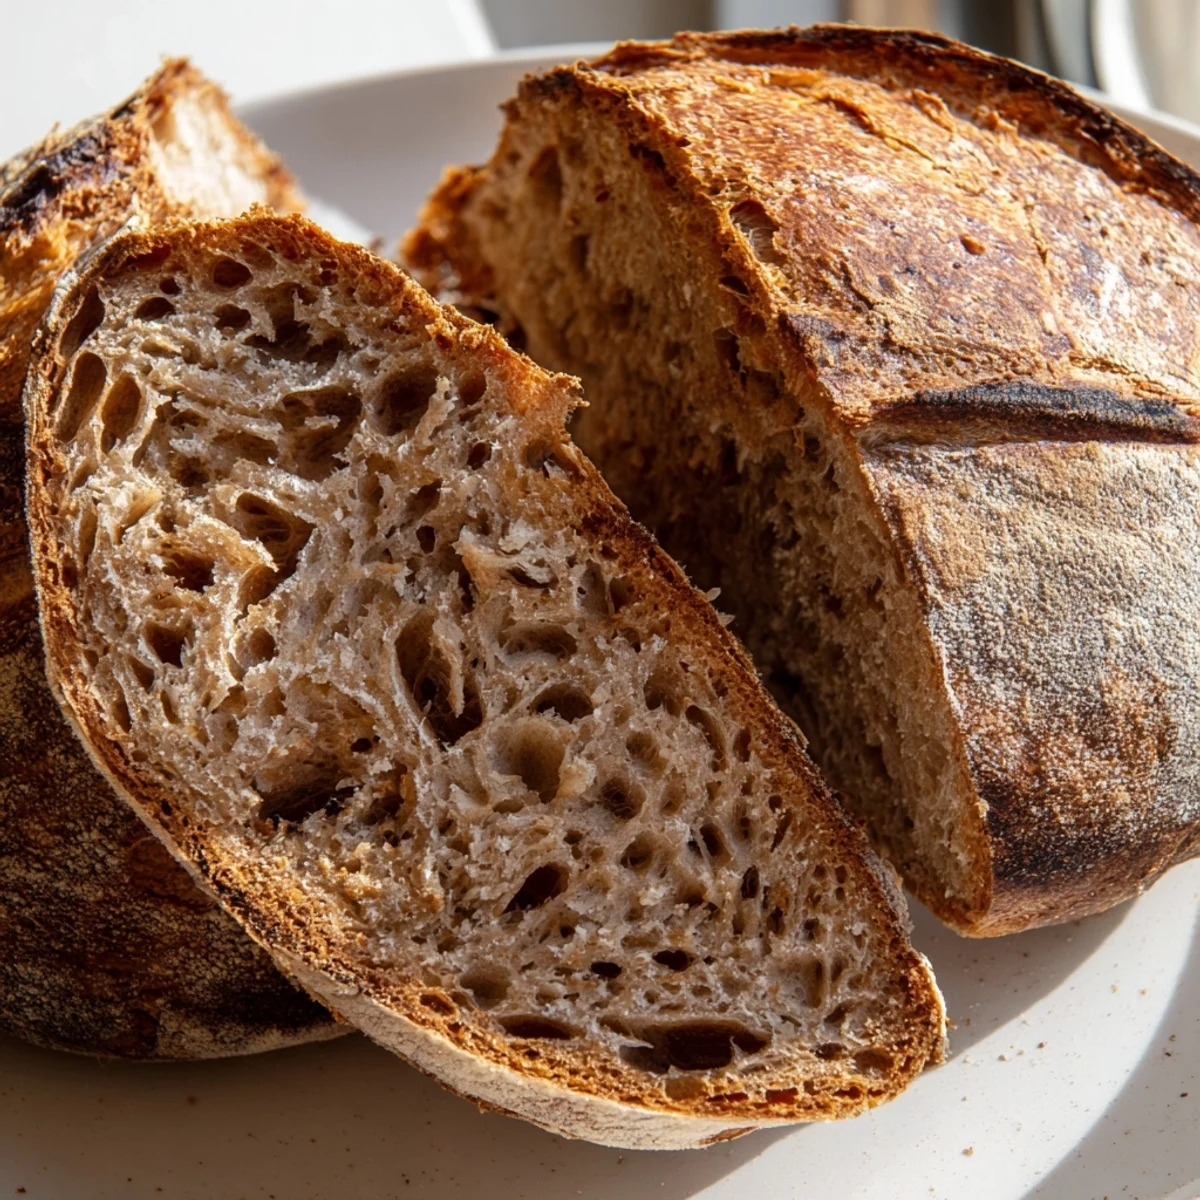
 The first time I achieved that blistered, caramelized crust, I stood in my kitchen holding the loaf like it was a newborn. My partner came in to investigate what I was grinning about and we ended up eating half the loaf warm with butter right there at the counter.
Understanding Your Starter
Your starter is alive, which means it responds to temperature and feeding schedules like a pet. A starter thats been fed recently and kept warm will be most active and reliable. I keep mine on the counter when Im baking regularly and in the fridge when I need a break.
Reading The Dough
The windowpane test changed everything for me. Cut off a small piece of dough and stretch it gently. If it can thin out to translucent without tearing, its developed enough. Under proofed bread is dense, over proofed bread collapses, and learning the difference takes practice.
Making It Your Own
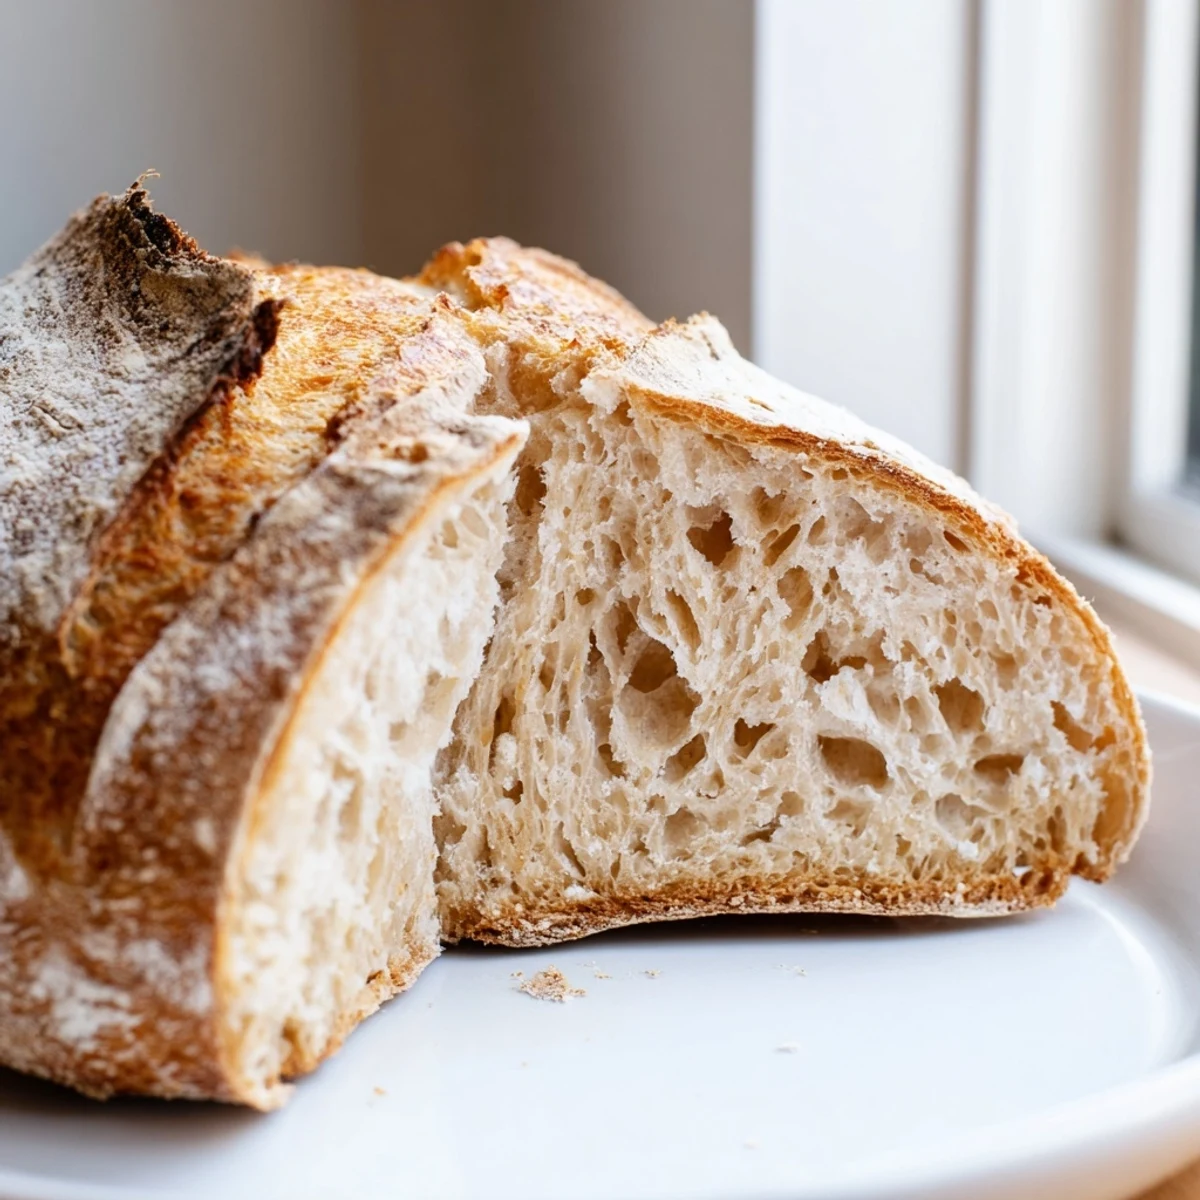
Once you have the basic rhythm down, try adding soaked nuts, dried fruit, or even roasted garlic to the dough during the final fold. The sourdough base is forgiving. Serve this bread with salted butter that melts into all those uneven crumb pockets.
- Score confidently but dont go too deep or the bread will spread
- Let it cool completely or the inside will keep cooking and turn gummy
- Store cut side down on a wooden board, never in plastic
 Save to Pinterest
 Theres something meditative about the whole process that keeps me coming back, even on days when the bread doesnt turn out perfect. Maybe thats the real point.
Recipe Questions & Answers
- → What makes sourdough different from regular bread?
-
Sourdough relies on wild yeast and beneficial bacteria naturally present in flour rather than commercial yeast. This creates the characteristic tangy flavor, improves digestibility, and yields a longer shelf life. The lengthy fermentation breaks down gluten and phytic acid, making nutrients more bioavailable.
- → How do I know when my starter is active enough?
-
An active starter should be bubbly, doubled in volume within 4-8 hours of feeding, and have a pleasant slightly sour aroma. When you drop a spoonful into water, it should float. This indicates sufficient yeast activity to properly leaven your loaf.
- → Can I speed up the fermentation process?
-
While tempting, rushing fermentation compromises flavor and texture. Warmer temperatures (75-80°F) accelerate bulk fermentation, but cooler, longer fermentation develops superior flavor complexity. The extended process is essential for that authentic sourdough character and proper gluten development.
- → Why is a Dutch oven recommended for baking?
-
A preheated Dutch oven creates steam that keeps the crust soft initially, allowing maximum oven spring. Once the lid is removed, the crust sets and develops that signature crackled, golden-brown exterior. This professional technique replicates commercial steam-injected deck ovens.
- → How should I store finished sourdough?
-
Store at room temperature in a paper bag or bread box for 2-3 days, cut side down to prevent drying. For longer storage, freeze sliced portions in airtight bags. Refrigeration actually stales bread faster due to starch retrogradation—freeze instead.
- → Can I use all-purpose flour instead of bread flour?
-
Bread flour's higher protein content (12-14%) provides stronger gluten structure for better rise and chew. All-purpose flour (10-12% protein) will work but yields a slightly denser crumb. For best results, use bread flour or blend high-gluten flour with all-purpose.