 Save to Pinterest
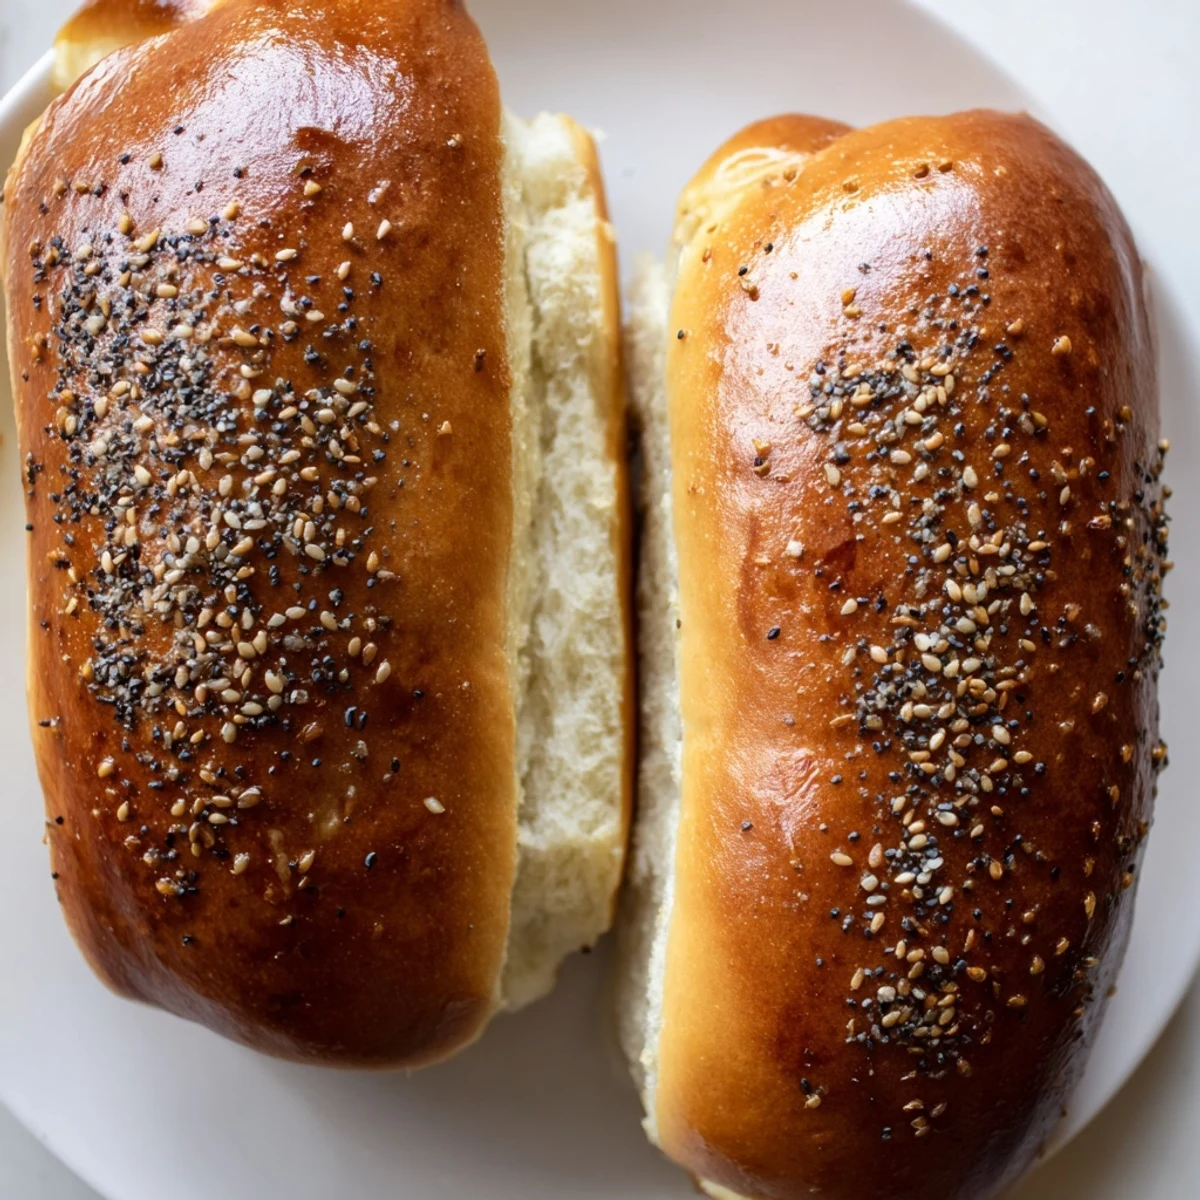
 Create bakery-worthy hot dog buns using unfed sourdough starter. These soft, slightly tangy buns feature a tender crumb and golden crust, perfect for elevating your next barbecue or casual family dinner. The dough incorporates unfed sourdough discard for depth of flavor while maintaining the classic fluffy texture you expect from quality hot dog buns.
The process takes about 2.5 hours from start to finish, with most of that time being hands-off rising. You'll knead the dough until smooth and elastic, shape it into logs, and let them rise until puffy before baking to golden perfection.
The smell of fresh-baked bread coming from the oven on a Saturday morning used to feel like something only grandmothers could pull off. Last summer, standing in my kitchen with a jar of bubbly sourdough discard I could not bear to throw away, I decided hot dog buns might be worth an experiment. Now these are the only ones my family asks for, and the subtle tang makes even ordinary hot dogs feel like something special from a bakery.
I made these for a neighborhood cookout last July, watching skeptics turn into converts after their first bite. Someone actually asked if I had driven two hours to a bakery that morning, which might be the best kitchen compliment I have ever received.
Ingredients
- Sourdough discard: The unfed starter adds depth without needing an overnight rise or extra planning
- Warm milk: Activates the yeast and creates a tender crumb that stays soft even after toasting
- Melted butter: Brushed on after baking gives the crust that irresistible velvety finish
- All-purpose flour: Start with 3 and 3/4 cups, adding only what the dough actually needs to handle without sticking
- Instant yeast: Makes these buns rise reliably even with the acidity from the discard
Instructions
- Wake up the yeast:
- Stir warm milk, sugar, and yeast in a large bowl and wait until the surface bubbles with activity
- Build the base:
- Mix in sourdough discard, melted butter, egg, and salt until everything looks combined and creamy
- Bring the dough together:
- Add flour one cup at a time until the mixture pulls away from the sides but still feels tacky to the touch
- Knead until smooth:
- Work the dough on a floured surface for 7 to 8 minutes until it bounces back when pressed
- Let it rise:
- Cover the dough and leave it in a warm spot until it has doubled, about an hour or so
- Shape into logs:
- Divide into 8 pieces and roll each into a 6-inch log, tucking the ends under for a neat look
- Second rise:
- Set buns on parchment and let them puff up until they look pillowy and full
- Bake golden brown:
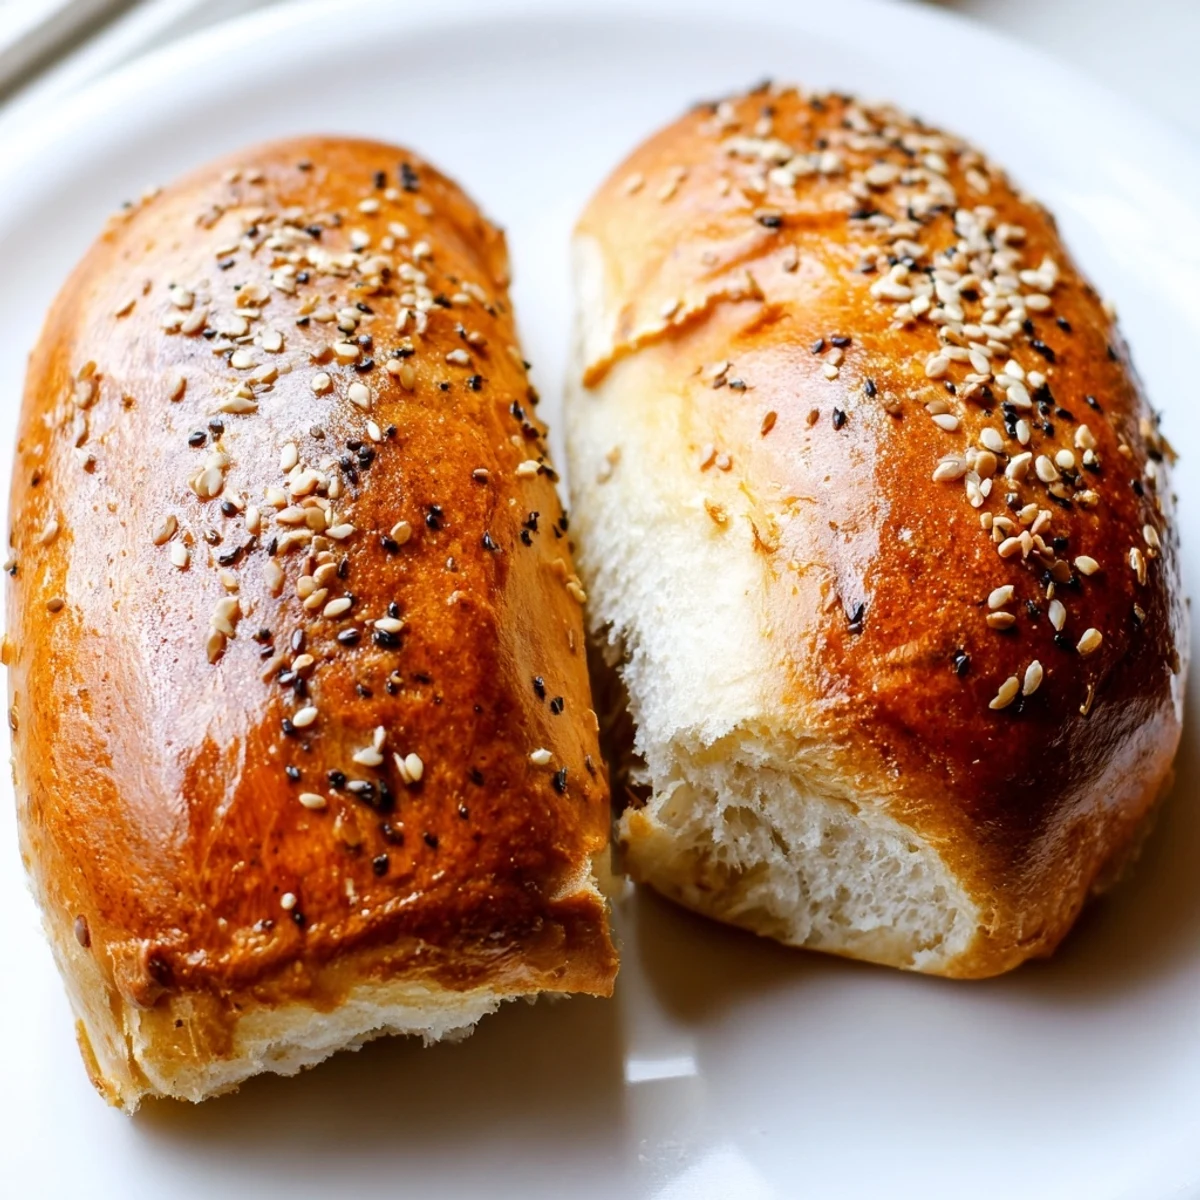
- Brush with milk, add seeds if you want, and bake at 375°F until the tops turn a deep golden color
- Finish with butter:
- Brush warm buns with melted butter right out of the oven for that bakery-soft crust
 Save to Pinterest
 My daughter now requests these for every birthday dinner, and I have started doubling the batch just to keep up. Something about making the buns from scratch makes the whole meal feel like an occasion worth gathering around.
Making Them Dairy-Free
Plant-based milk and vegan butter work beautifully here without compromising texture. I have served these to dairy-free friends who could not tell the difference, which always feels like a small victory in inclusive cooking.
Freezing Extra Buns
Wrap cooled buns individually and freeze them for up to a month. A quick toast brings them back to life, and having homemade buns ready on a busy weeknight feels like cheating the system in the best way.
Perfect Shaping Technique
Roll each piece under your palms with light pressure, letting the dough glide back and forth without forcing it. Gentle shaping keeps the interior tender and prevents those dense spots that can happen when dough is overworked.
- Use a kitchen scale for even-sized buns that bake uniformly
- Space them at least 2 inches apart so they have room to expand
- Resist the urge to add too much flour during shaping
 Save to Pinterest
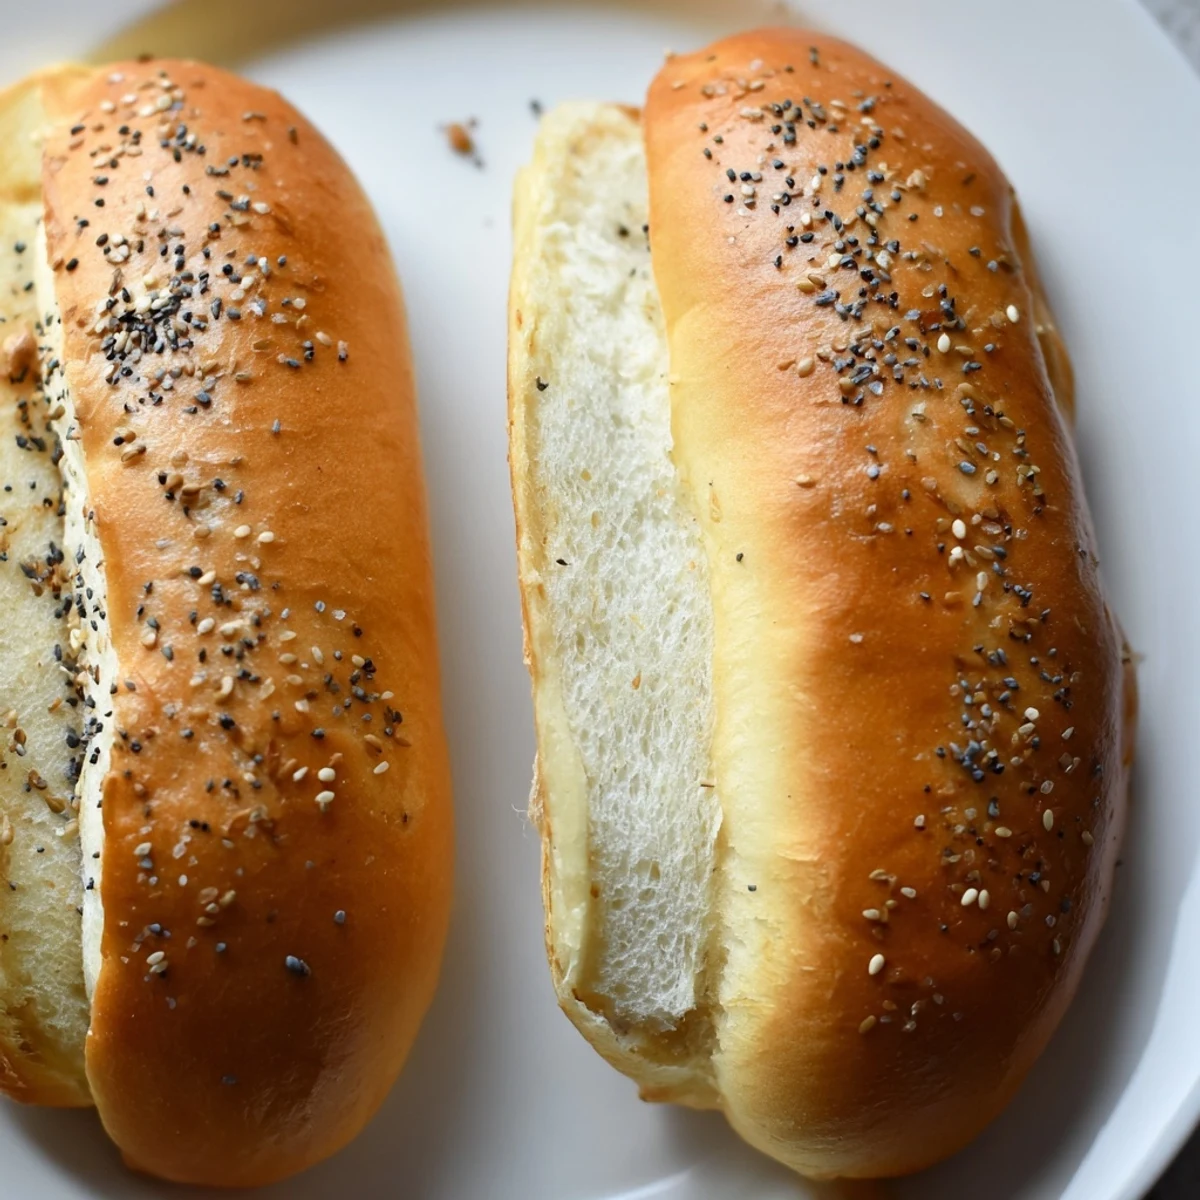
 There is something deeply satisfying about serving food where every component was made by hand, even the humble hot dog bun. These might just become your new weekend baking tradition.
Recipe Questions & Answers
- → Can I make these without sourdough discard?
-
Yes, simply replace the sourdough discard with an equal amount of flour and water mixture, though you'll lose the subtle tangy flavor that makes these buns special.
- → How should I store these buns?
-
Store in an airtight bag at room temperature for up to 3 days. For longer storage, freeze individually wrapped and thaw at room temperature when needed.
- → Can I make these dairy-free?
-
Absolutely. Substitute the milk with your favorite plant-based milk and use vegan butter instead of dairy butter for brushing.
- → Why is my dough too sticky?
-
Dough hydration can vary based on flour and climate. Add flour gradually until the dough is soft and tacky but not sticking excessively to your hands or surface.
- → Can I make these ahead of time?
-
Yes, you can prepare the dough and refrigerate it after the first rise overnight. Let it come to room temperature before shaping and baking the next day.
- → What if I don't have instant yeast?
-
Active dry yeast works too—just dissolve it in the warm milk with sugar first and let it sit for about 10 minutes until foamy before proceeding.