 Save to Pinterest
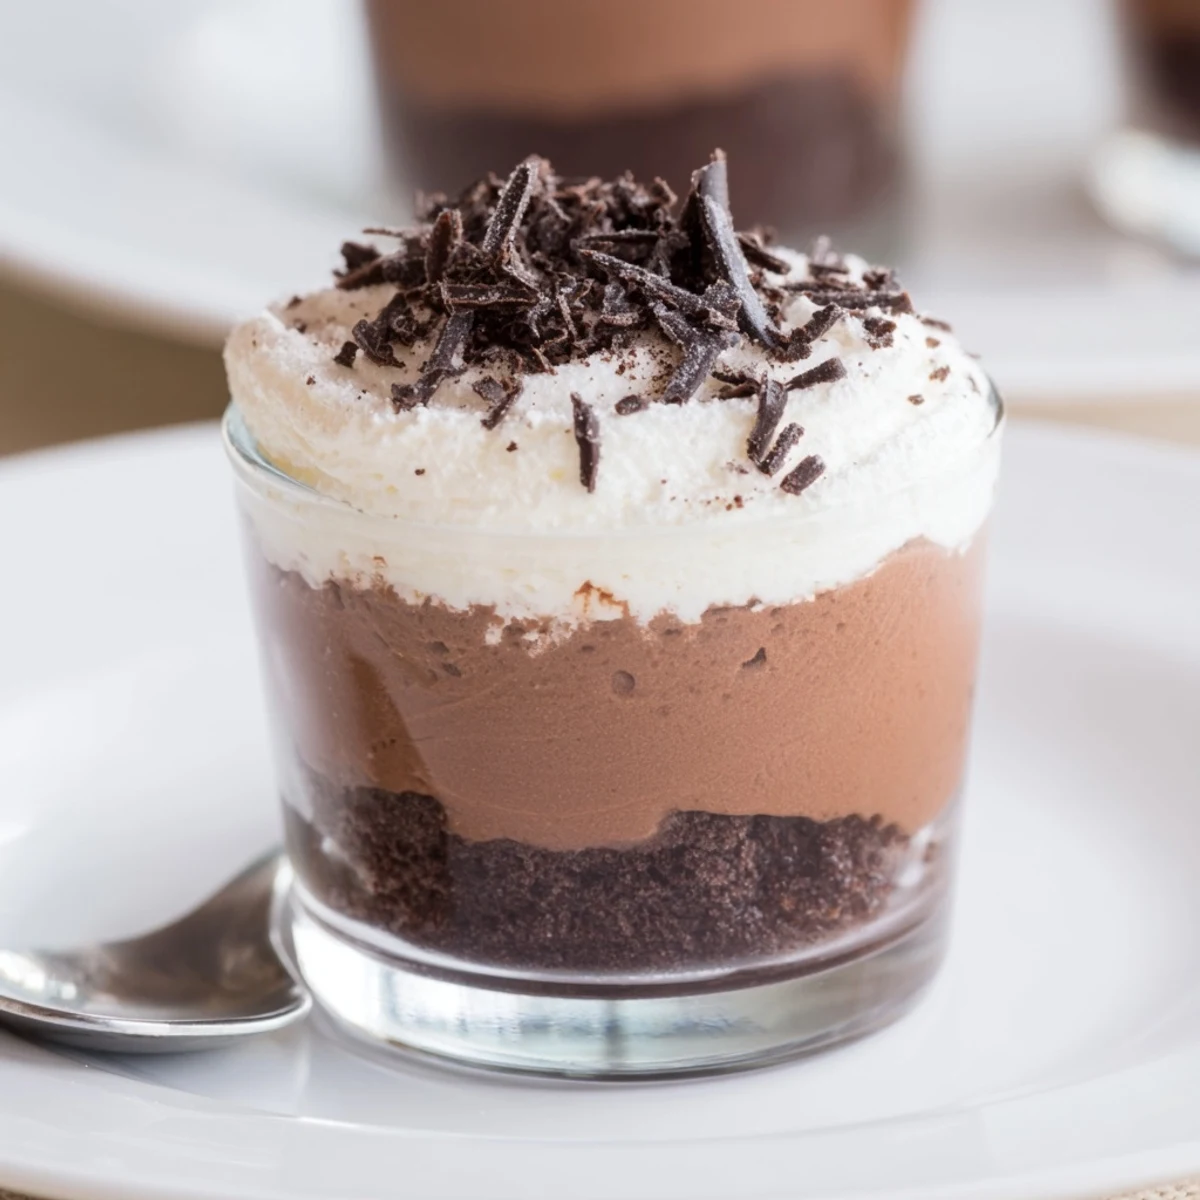
 These triple chocolate mousse cups layer dark, milk and white chocolate for a rich, balanced finish. Gently melt each chocolate and temper briefly before folding into an egg yolk and sugar base, then incorporate softly whipped cream for lightness. Spoon or pipe into six small cups, chilling at least an hour to set; use the freezer for quicker layers. Garnish with shavings or cocoa, and add a splash of coffee liqueur to the dark layer for extra depth. Use good-quality chocolate and handle whites and yolks carefully; active time about 55 minutes, including chilling.
As soon as the first hints of cooler weather drifted through the kitchen window, I felt that unmistakable urge to create something luxurious and chocolatey. Nothing says indulgence quite like delicately layered Triple Chocolate Mousse Cups, and the symphony of aromas from melting chocolates instantly makes the process feel special. My kitchen has witnessed a fair share of chocolate mishaps, but there’s a real satisfaction when the layers set perfectly and the spoon glides through. The process is just as much about patience and anticipation as it is about taste.
I once served these at a friend’s impromptu dinner, and watching everyone debate their favorite layer over the clinking of spoons added unexpected fun to the night. There's something disarming about sharing individual cups, and those conversations became the real highlight.
Ingredients
- Dark chocolate (100g, minimum 60% cocoa): For the grown-up flavor that anchors the mousse trio – choose your favorite rich bar and chop it finely so it melts evenly.
- Milk chocolate (100g): This layer brings a mellow sweetness and creamy texture; don't be tempted by chocolate chips as they can seize – use a bar if possible.
- White chocolate (100g): The drama of this recipe is in the contrast, and a good-quality white chocolate will ensure the top layer is lusciously smooth.
- Large egg yolks (3 total): Each mousse needs one yolk for structure and that delicate custard note (save the whites for tomorrow’s omelet).
- Sugar (4 ½ tbsp, divided): The careful addition of just enough sugar brightens each mousse and helps the yolks whip up pale and creamy.
- Heavy cream (300 ml, cold, divided): Cold cream is the secret for billowy mousses with perfect texture, and whipping by hand with a whisk builds muscle and somehow feels celebratory.
- Shaved chocolate or cocoa powder (optional): A flourish for the top, because a dusting of cocoa instantly says you went the extra step.
Instructions
- Start with the dark chocolate:
- Chop chocolate and gently melt it over a steaming bain-marie — don’t rush it, let the scent fill the room. Cool slightly; in another bowl, whisk the egg yolk with sugar until pale, then fold in the melted chocolate, feeling it thicken luxuriously.
- Whip the cream:
- Beat the cold heavy cream until soft peaks form – it should feel airy but still a bit glossy. Fold it gently into the chocolate mixture in three batches to keep everything light, then spoon into six serving glasses, smoothing the tops.
- Layer with milk chocolate mousse:
- Repeat the process: melt, whisk, fold, and whip again, only this time with milk chocolate. Spoon carefully over the chilled dark chocolate base, using a back of a spoon to avoid disturbing the layer underneath.
- Create the white chocolate finale:
- Finally, using the last yolk, sugar, and cream, prepare the white chocolate mousse. Pop the mixture into a piping bag if you love precision, and swirl the final layer over the milk chocolate.
- Chill and finish:
- Chill all the cups for at least an hour, or until you feel a gentle jiggle when you tilt them. Just before serving, shower them with chocolate shavings or a soft dusting of cocoa.
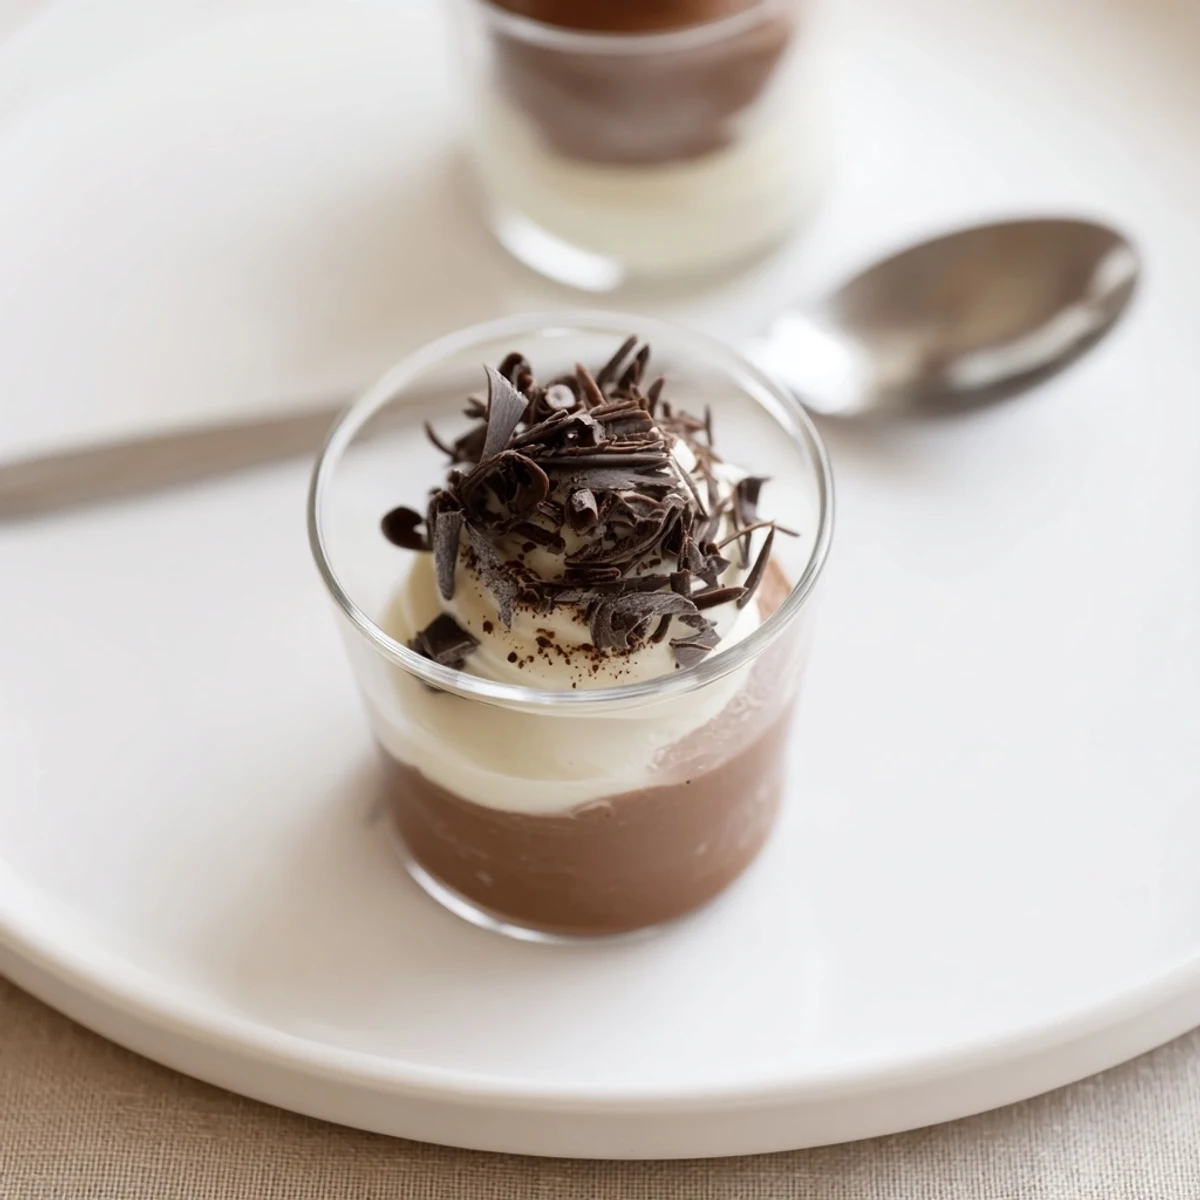
 Save to Pinterest
 Somehow, even after the plates are cleared, I remember the gentle quiet that fell when everyone dipped in for the first bite. That moment, faces brightening at the surprise of so many textures, made all the careful layering worthwhile.
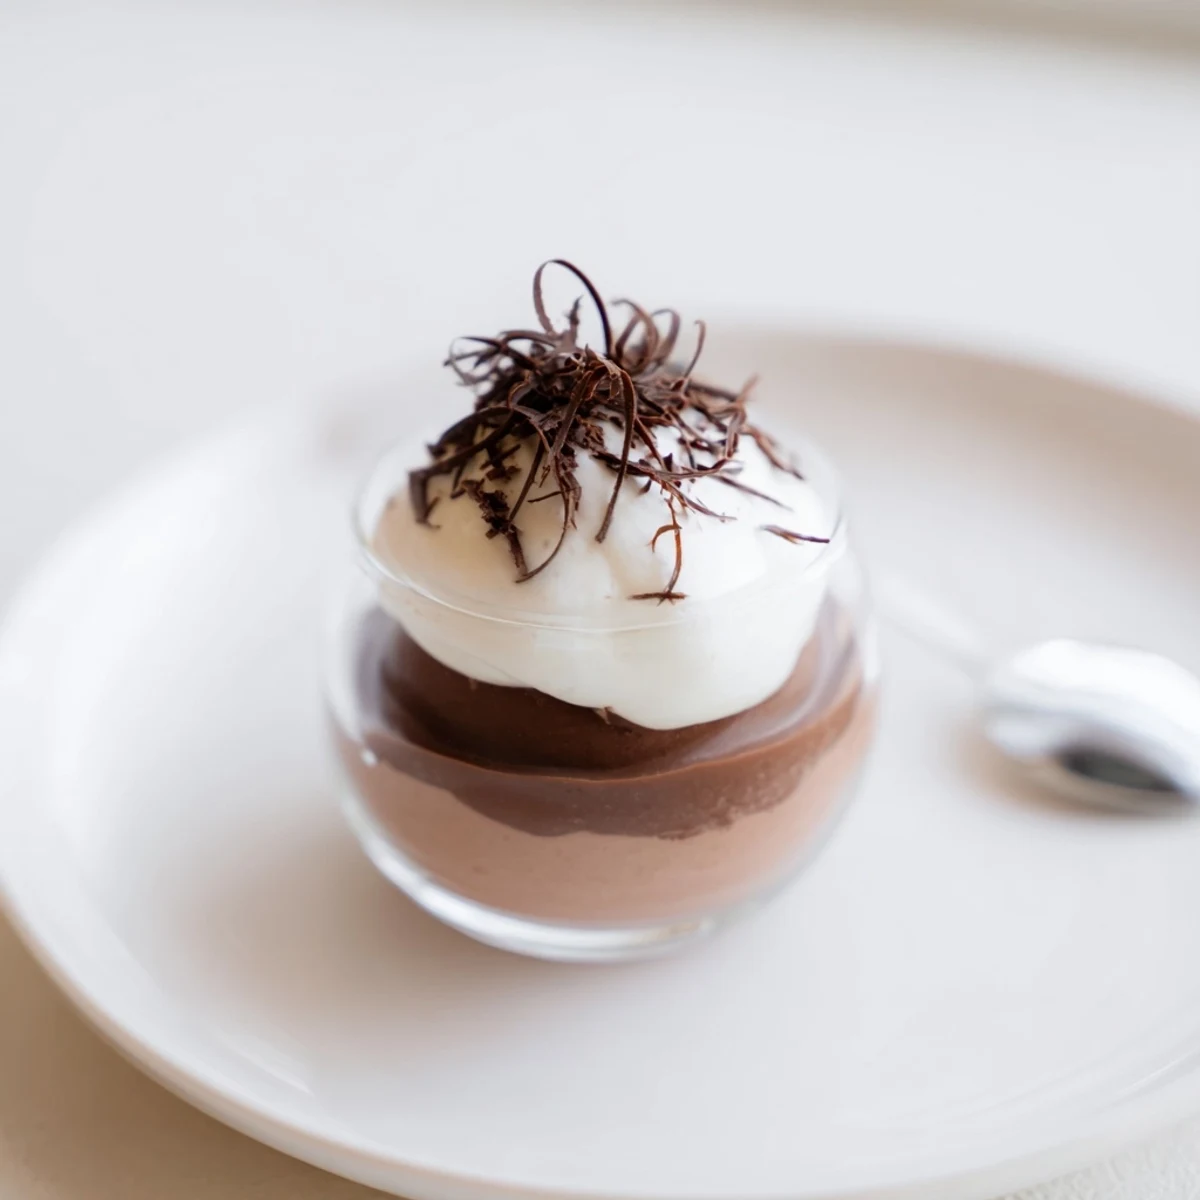
How I Keep Layers Looking Beautiful
I discovered that chilling each layer for at least fifteen minutes before adding the next one helps prevent the mousses from blending into each other. If in a rush, a quick spell in the freezer tightens things up just enough to allow for a clean finish every time.
Making This Ahead of Time
I realized these cups only get better after a good rest in the fridge overnight – the chocolate flavors meld together, and you can prep ahead without sacrificing presentation or taste. Just remember to add garnishes right before serving so they stay fresh and vibrant.
Simple Swaps and Flavor Twists
Personal tweaks can make this mousse recipe feel fresh every time. Once I added a splash of coffee liqueur to the dark chocolate for a grown-up kick, and another time, I infused the cream with a hint of orange zest for a subtler twist.
- Try layering in a thin stripe of crushed cookies for crunch.
- Add a touch of sea salt over the dark chocolate layer to highlight flavors.
- Experimenting with different chocolate origins can make each layer unique.
 Save to Pinterest
 Whether you’re treating company or just yourself, these mousse cups always feel like a celebration. Keep a spoon handy, because they vanish faster than you’d think!
Recipe Questions & Answers
- → How do I prevent the mousse from deflating when folding?
-
Fold gently with a spatula using a figure-eight motion, working from the center outwards. Stop as soon as the mixture is uniform to keep air incorporated and preserve a light texture.
- → Are raw egg yolks safe to use and are there alternatives?
-
Use pasteurized eggs if you have concerns. For an egg-free approach, stabilize whipped cream with gelatin or use a commercial stabilizer, keeping in mind the texture will be slightly different.
- → How long should I chill between layers to keep clean lines?
-
Chill 15–30 minutes between layers in the fridge so each layer firms. For faster assembly, freeze cups for 20–30 minutes, but watch closely to avoid freezing solid.
- → What chocolate should I choose for the best texture and flavor?
-
Use good-quality chocolate: around 60% cocoa for dark, a reliable milk chocolate for balance, and high-quality white chocolate or couverture for a smooth finish and proper mouthfeel.
- → How long can finished cups be stored?
-
Store covered in the refrigerator for up to 48 hours to retain texture and freshness. Avoid long storage that can cause the mousses to lose air and become dense.
- → Any tips for a polished presentation?
-
Pipe the layers for neat edges, chill cups upright to set, and top with shaved chocolate, a dusting of cocoa, or a few cocoa nibs for contrast and elegance.